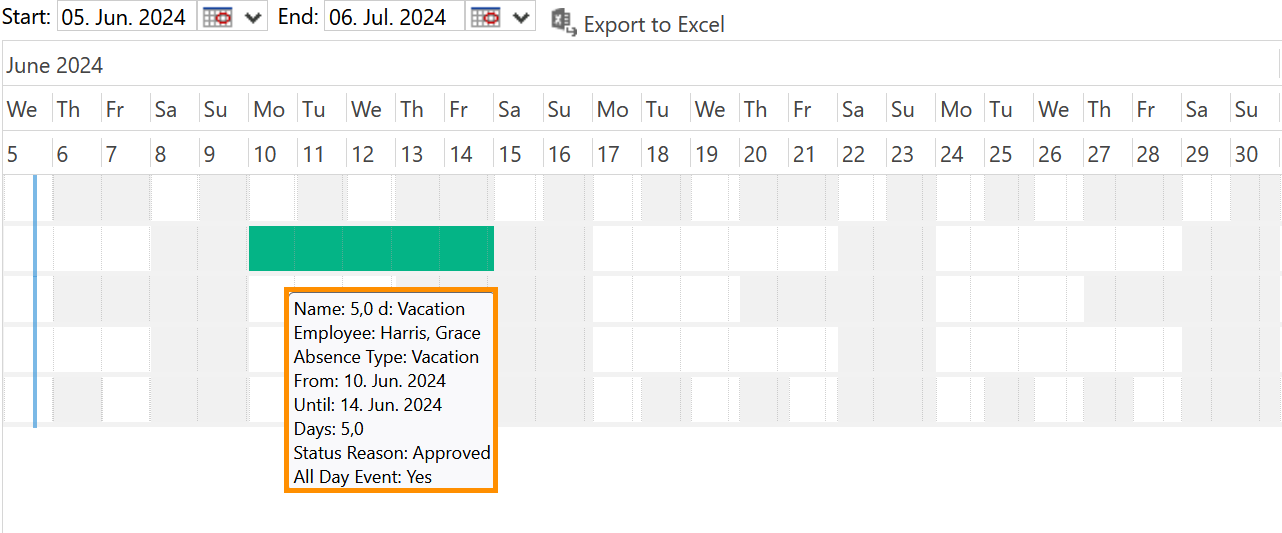
In Hubdrive, when a HR Manager hovers over an absence in the absence calendar with the mouse, more detailed information about that absence is displayed with a mouse-over effect.
This tutorial shows you how to customize the fields for this additional information, in case you want to adjust them.
How to adjust ToolTips for the Absence Calendar
Objective
Prerequisites
- You are App Administrator or System Customizer
- You already created a storage for your customizations
Click Through
- Start in make.powerapps.com
- On the upper right side, select the correct environment
- Click on Solutions on the left
- Open your storage for customizations
- On the top ribbon, click on Add existing
- Click on Table
- Add Leave Request
- On the left panel, click on Columns
- Add the columns of your choice, e.g. Employee, Absence Type…
- Click on the name of the column that you want to edit e.g. Employee
- Change the Display Name however you wish
- Save
- Go back to the main page
- Click on Publish all customizations
Hint
- After publishing the customizations, the changes can then be seen in your HR solution.
- This change will also change the name of the column inside the Leave Requests
Result
The information from this mouse-over effect can be adjusted following the tutorial above.