
Recruiting Portal
The Recruiting Portal allows applicants to create an account to manage their own applications and view their status. In addition, the general personal data stored in the account does not have to be entered individually for each application, but is simply transferred. This applicant data is recorded and managed in compliance with GDPR. This makes it easy for applicants to apply for interesting positions. Due to the one-time entry and further use of the personal data, duplicate data records are avoided and the risk of errors is minimized. This enables an efficient application process right from the start.
Within the Recruiting Portal, applicants have the following possibilities:
- Create their own account
- Track status of submitted applications
- Change personal data
- Update password
The Recruiting Portal is based on Power Apps Portals. Further information can be found here: Power Apps portals documentation
Functionality
- Data on career and education is transferred to HR for Dynamics to the "Applicant" entity.
- The Recruiting Portal account is based on the entity "Contact", only the application itself is connected to the entity "Applicant". Only the first name, last name and email address information is maintained in the "Contact" entity. Beyond that, no additional personal information is stored, as a wider range of people have access to it. Sind the portal account is based on the "Contact" entity, applicants can still log into their account and submit new applications even if an application is anonymized due to GDPR compliance. However, in this case, only the anonymized has characters (#####) are displayed in the name fields, but these can be edited.
- The email address can no longer be changed as this is the Unique Identifier for the "Contact" entity (and therefore for the "Applicant" entity in HR for Dynamics). No other account can be created with the same email address (duplicate detection). This also means that wen a user is logged in and wants to apply for a position, all data is already pre-filled and editable, except for the email address.
- A functionality to update passwords is also set up. The password must comply with the current password policy for security reasons, i.e. the user must choose a strong password. Otherwise, the account creation cannot be completed.
- In case an applicant forgets their own password and wants to reset it themselves, the Microsoft Dynamics 365 Portal Password Reset functionality can be used.
User Interface
Below you will get a description of the Recruiting Portal as it looks in the standard after installation. You can find more information about the installation here: Recruiting Portal Installation
The user interface of the Recruiting Portal can of course be customized to your wishes and requirements.
More information can be found here: Customizing the Recruiting Portal
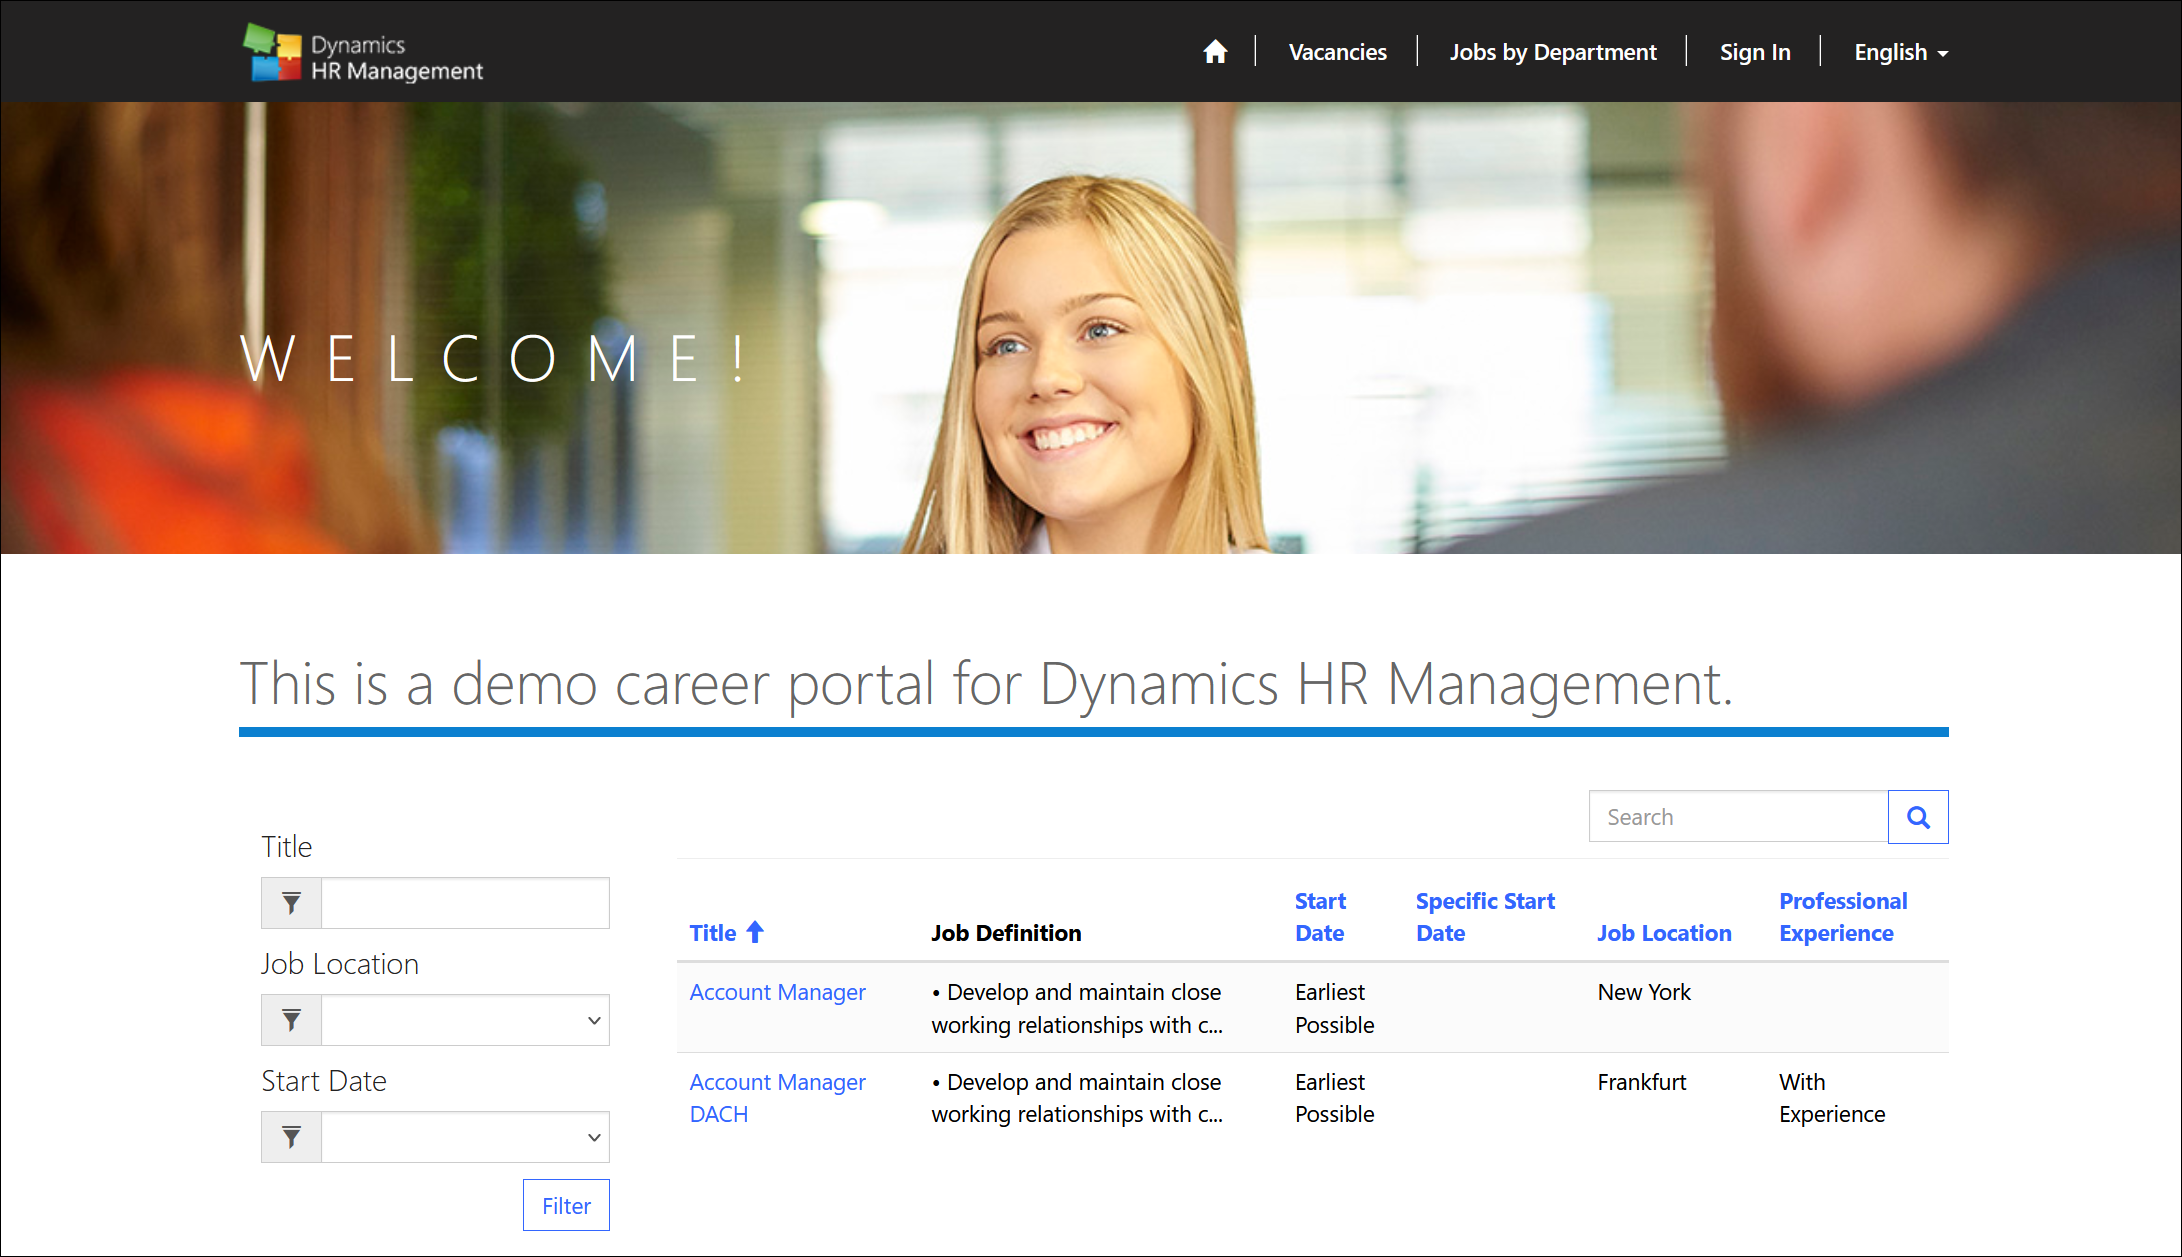
The user interface of the recruiting portal is structured as follows:
The potential applicant gets directly an overview of the available jobs including all important information, such as the title, job description, start date, specific start date, location and whether experience is needed.
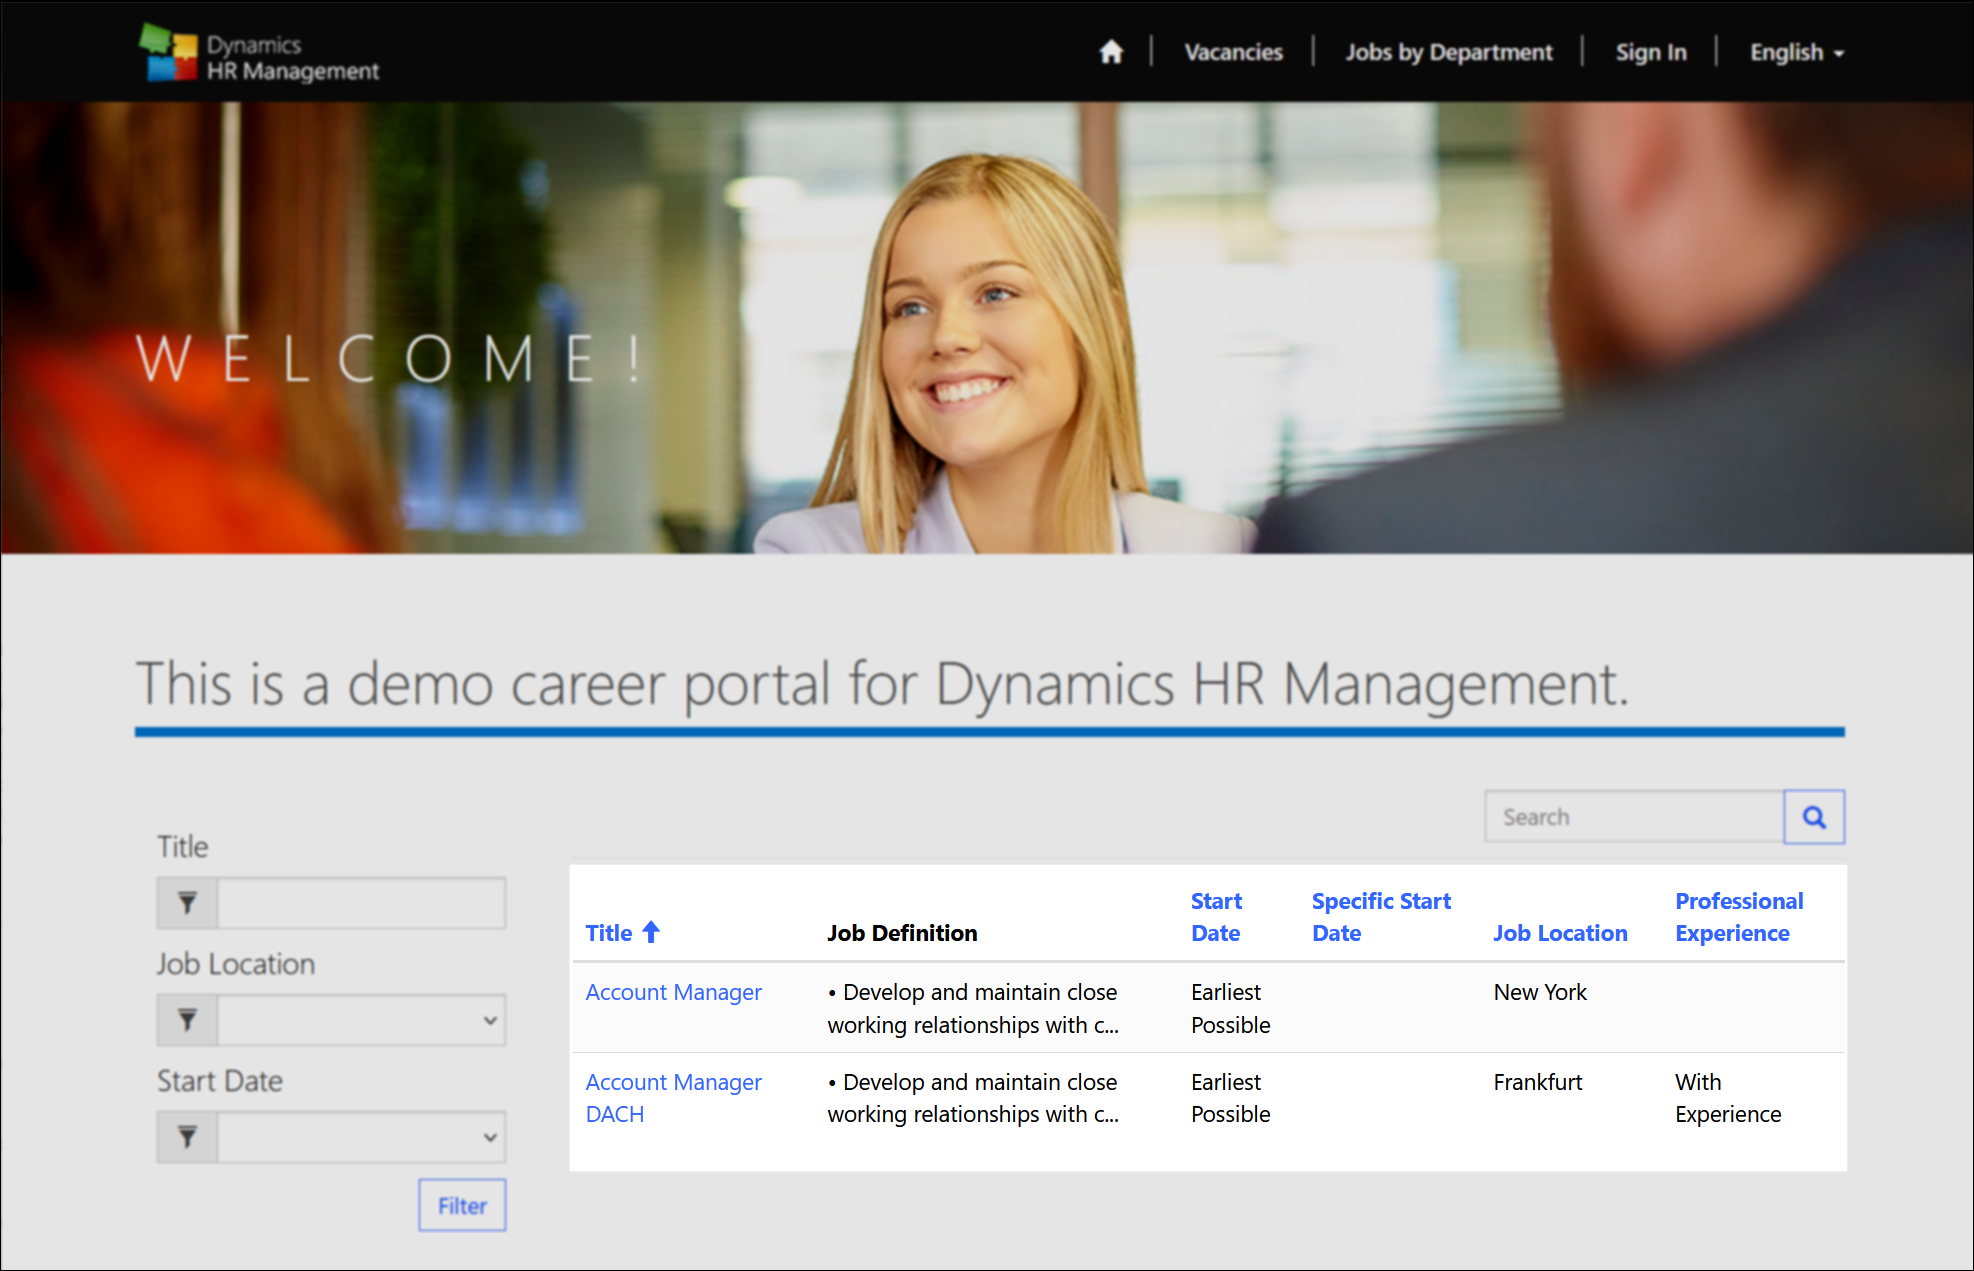
The overview of vacancies can be filtered using the filters on the left.
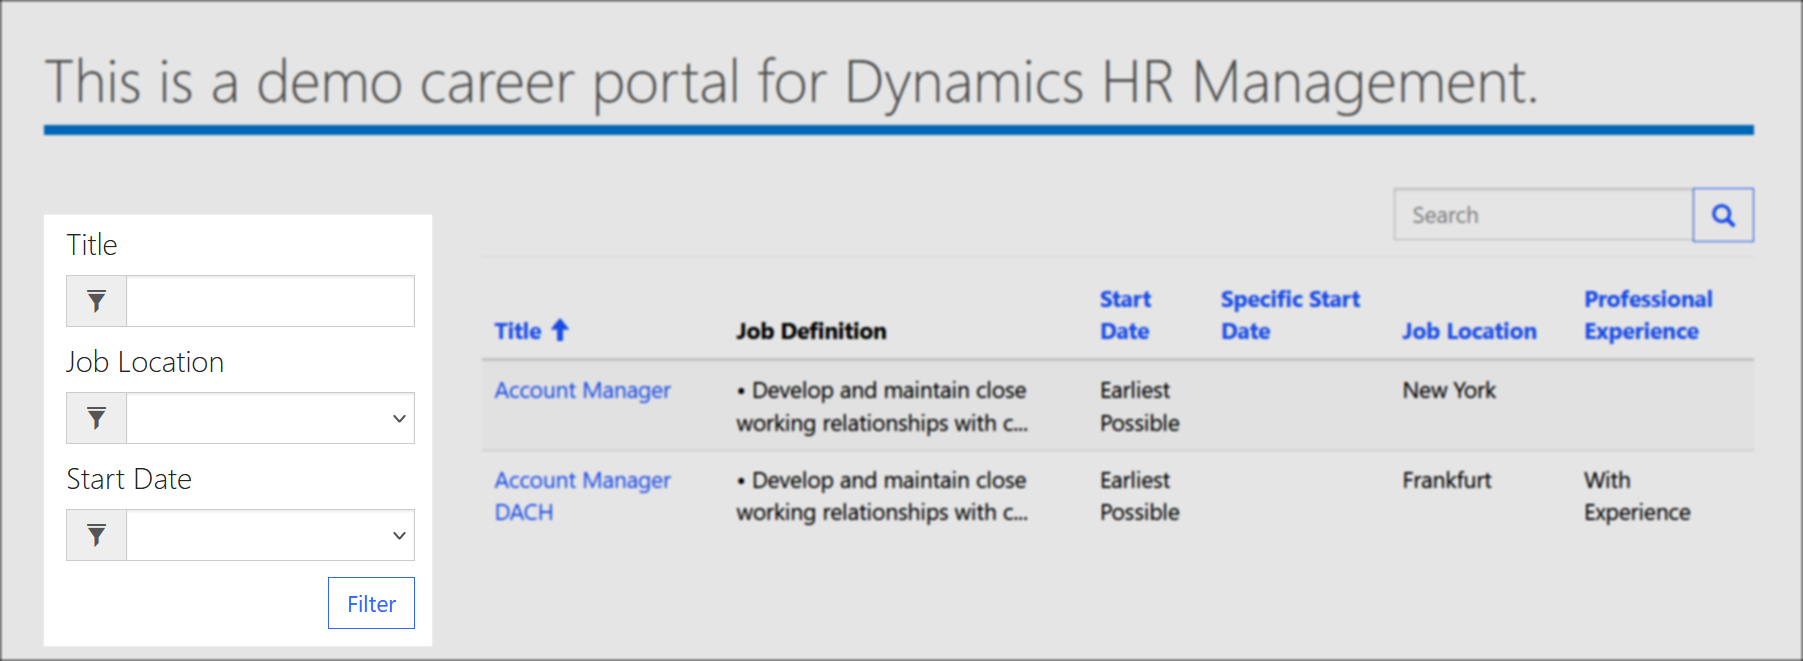
In this case, Job Location and Start Date are preset with values from which the applicant can select the appropriate one. The title is a free text field. Click on "Filter" to display only the vacancies that match the filter(s).
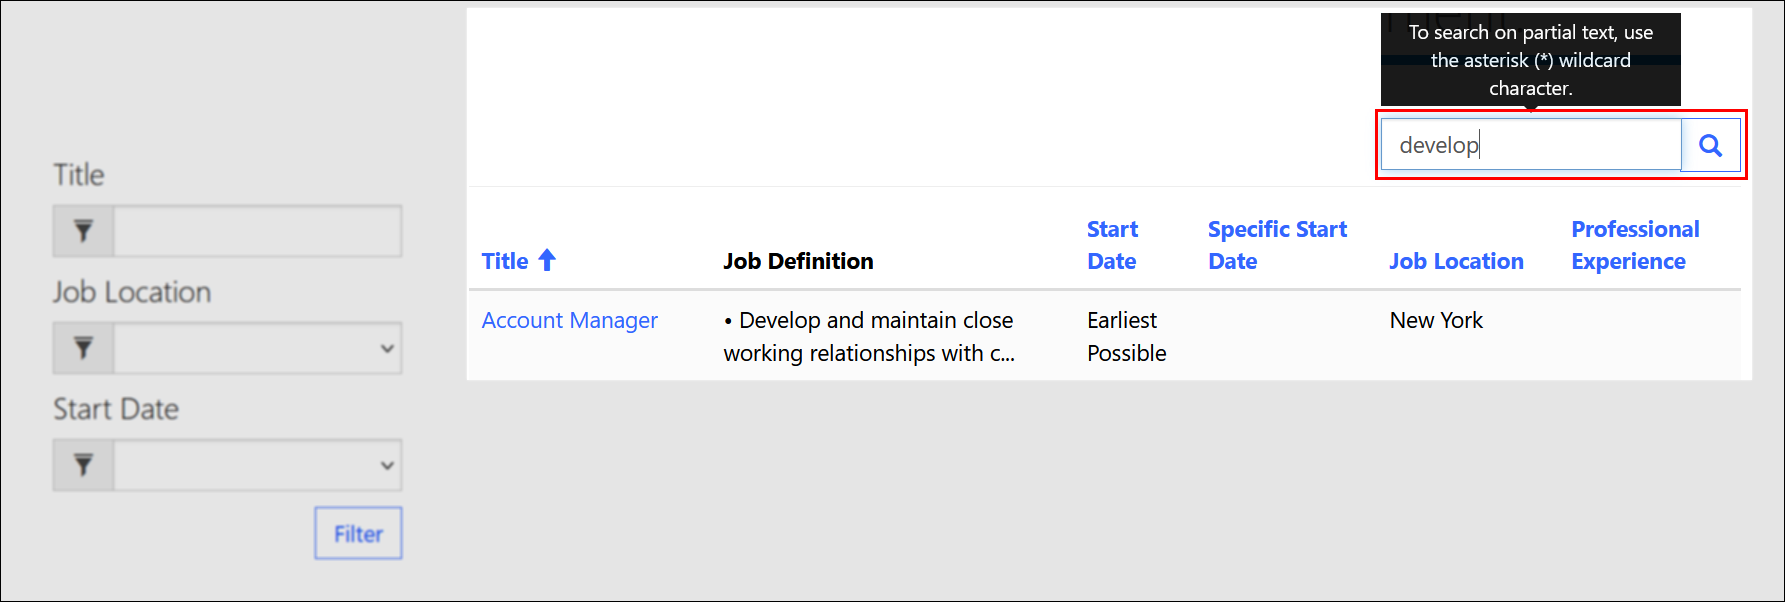
The search on the right above the overview of vacancies also allows the applicant to search for a specific vacancy or keywords.
When the applicant clicks on the title of a vacancy, he gets detailed information about it: Description of the job, requirements for his skills profile, etc.
The applicant has a direct opportunity to apply here by clicking the "Apply for this Job" button.
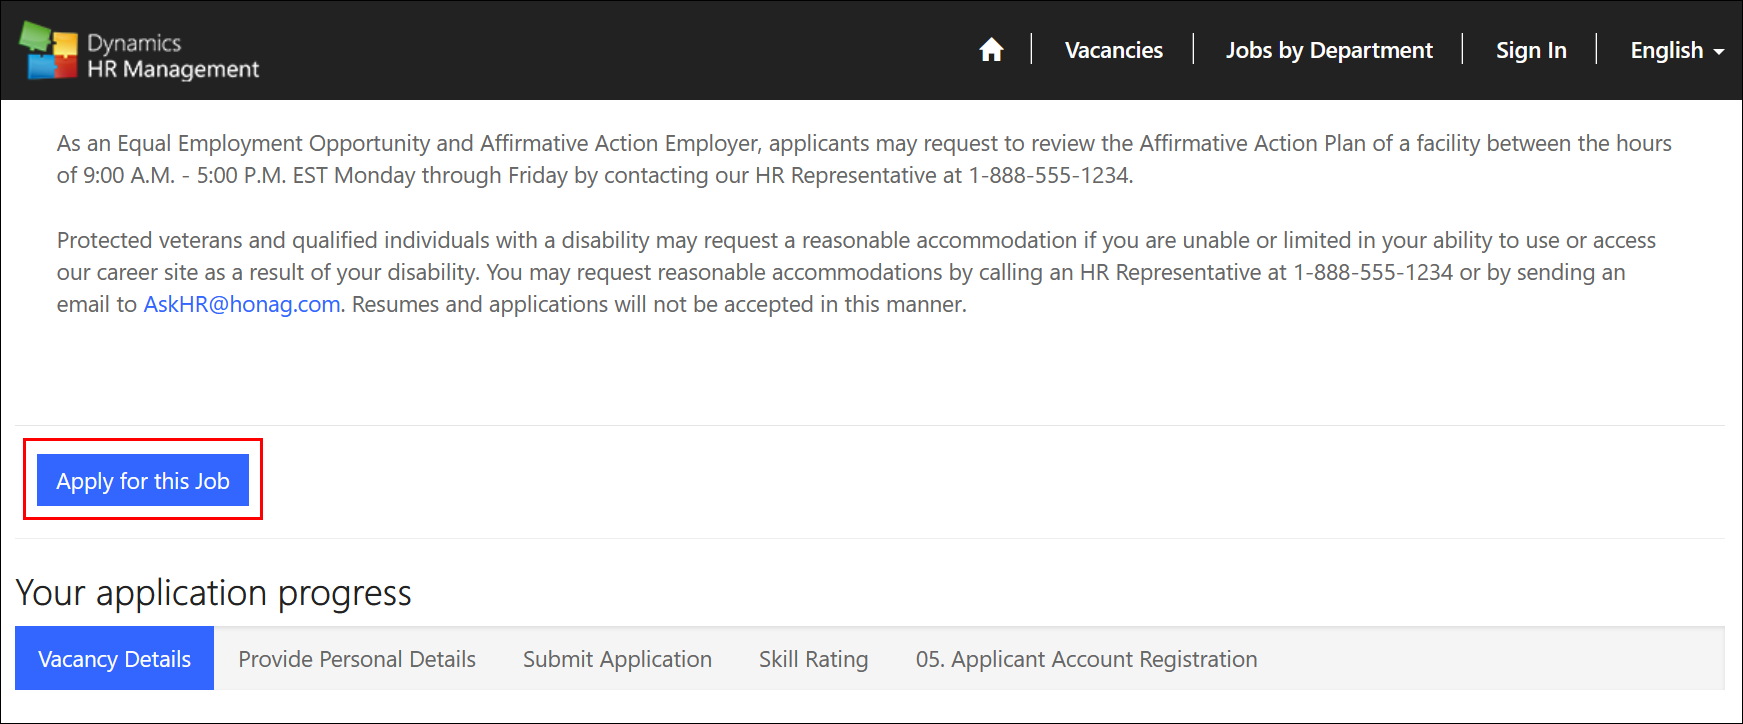
Below, the applicant can see his application process at any time, which is automatically updated with each step.
If the applicant clicks on this button, a form opens. Here he can enter his personal data. If the applicant has an account for the Recruiting Portal, then he does not have to enter the data again, because it is saved.
After entering the data into the form, they will be submitted by clicking the "Continue" button.
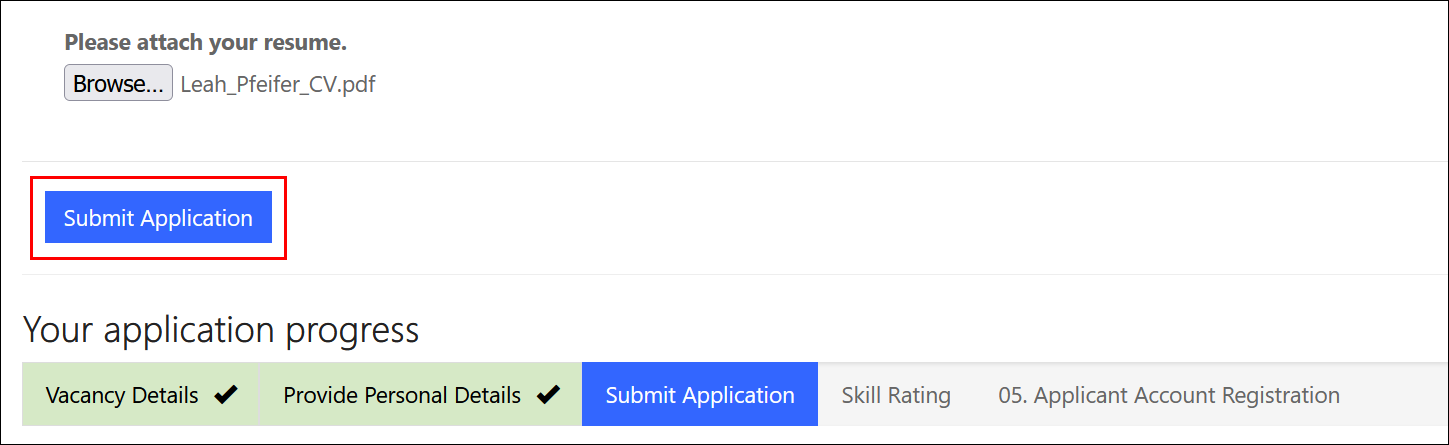
The applicant can then enter further data that is necessary for the application. For example, the start date or his salary requirements. In addition, he can also upload his resume here.
By clicking the "Submit Application" button, the application will be submitted.
After the application has been submitted, the applicant can still evaluate his or her own skills.

By clicking on the "Next" button, the applicant's self-assessment of his/her skills is also submitted.
Now the applicant has the possibility to finish the application process without an account, or he can create an account directly here.
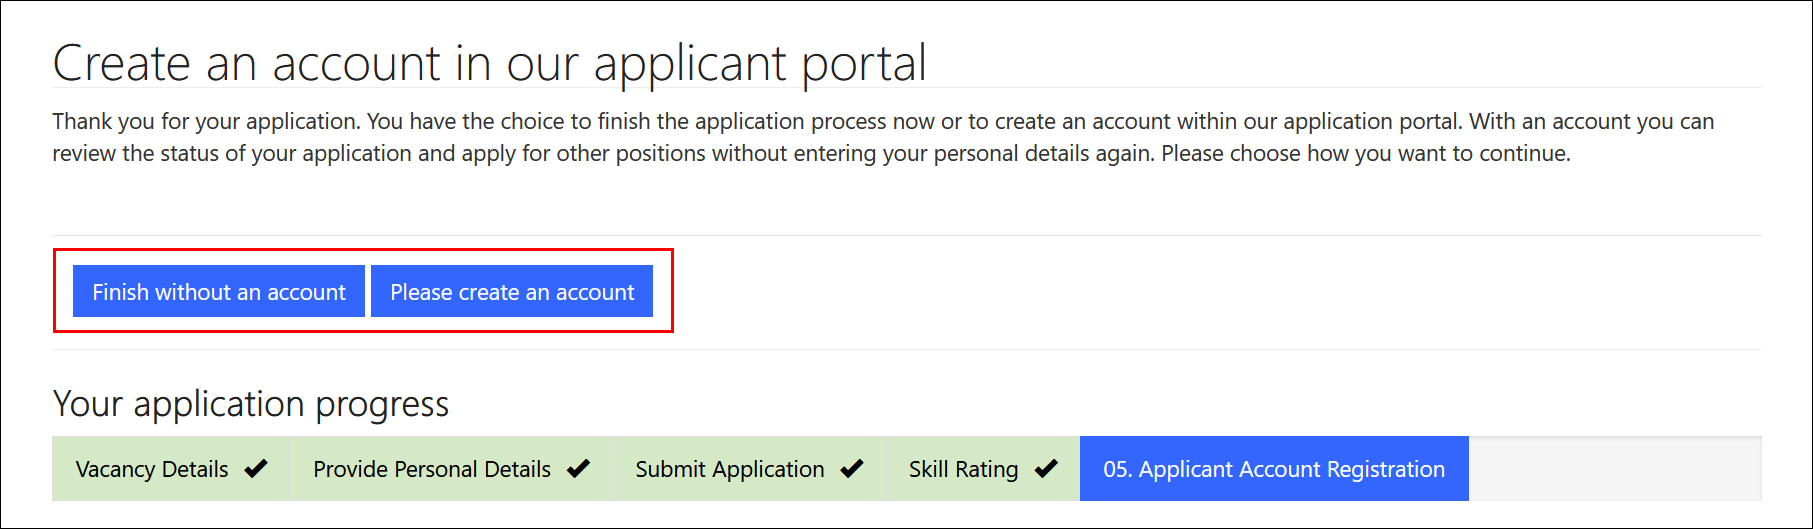
If the applicant clicks on the button "Finish without an account", the process is finished at this point without the applicant having created an account in which his/her personal data is stored.
However, if the applicant would like their personal data to be stored and they do not have to enter it again for each application, they can create an account here at the point using the "Please create an account" button.
Toolbar

- Home

The home button always takes the applicant back to the page that is set as the default.
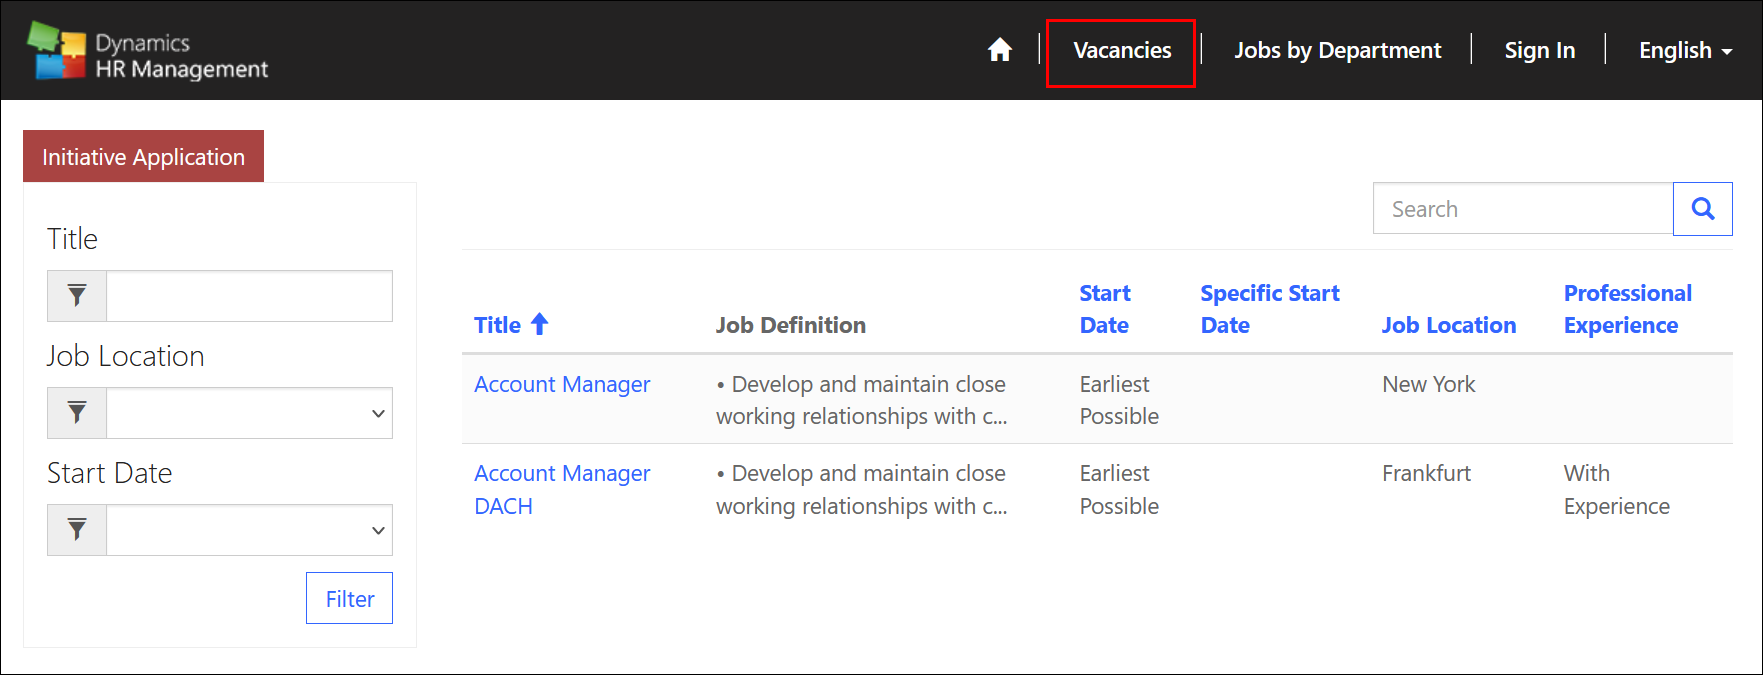
- Vacancies
The "Vacancies" button takes the applicant to the job vacancies section. Here, for example, he now also has the option of submitting an initiative application.
- Jobs by Department
Under this button, the applicant could, for example, get an overview of the vacancies by department. In this case, a standard example text is stored here.

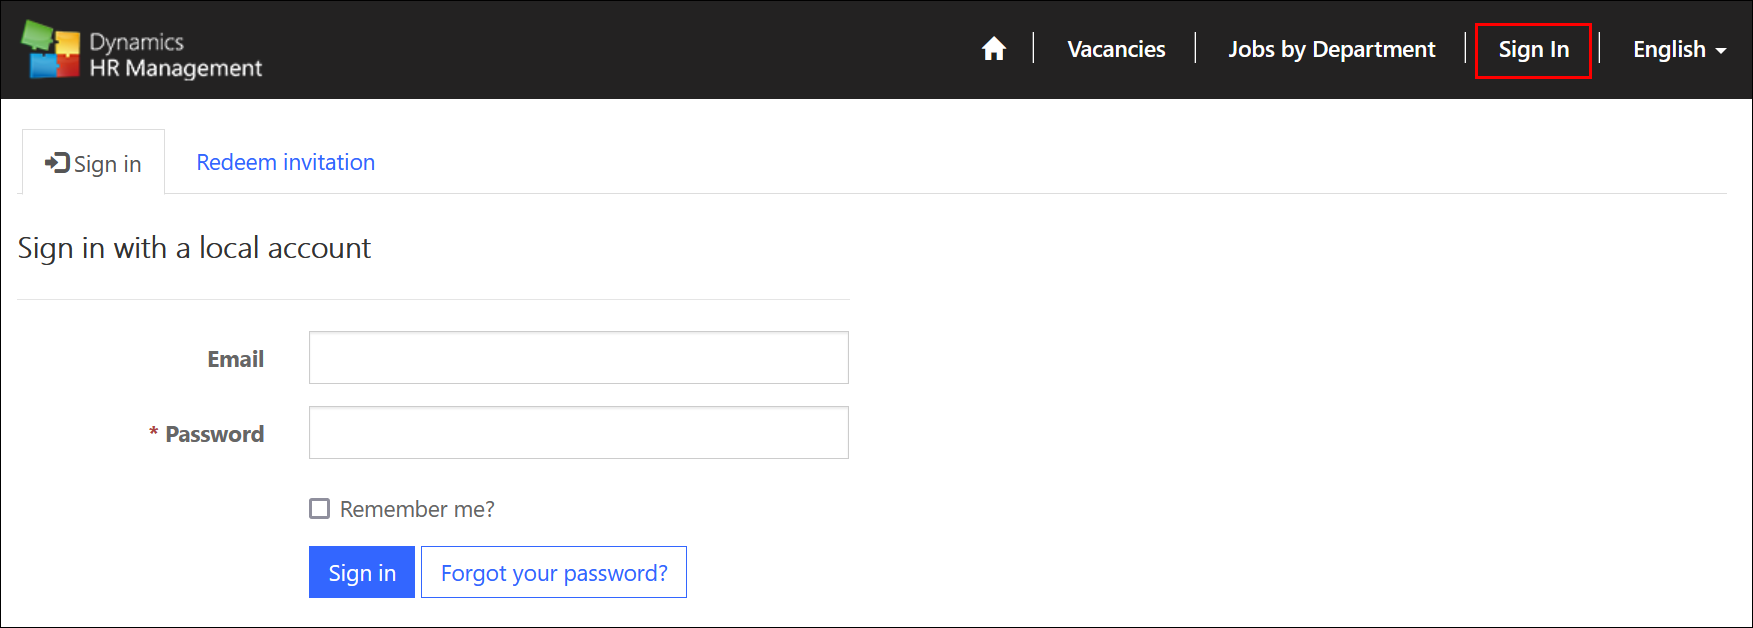
- Sign In
By clicking the "Sign In" button, the applicant is forwarded to the login. Here he can log in with his user credentials email and password. He has the option to save the password and reset it if he has forgotten it.
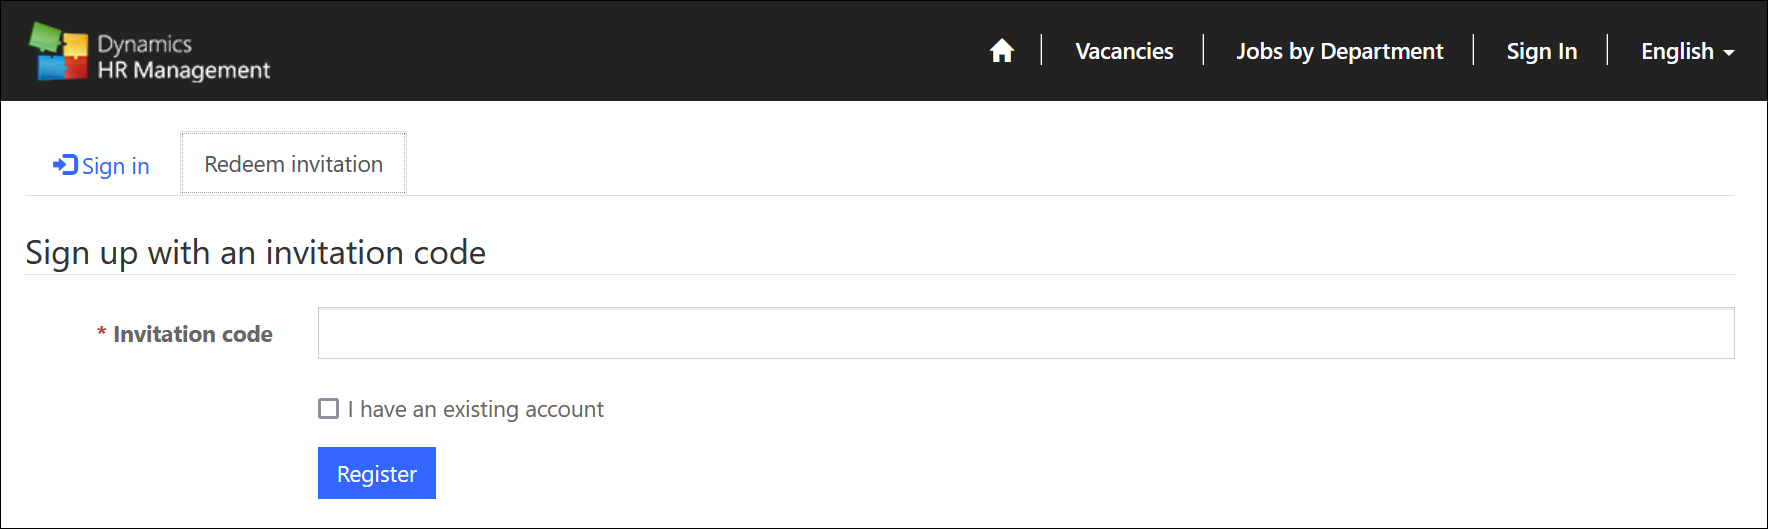
The applicant also has the option here to create an account via an invitation code. To do this, it is necessary to switch to the "Redeem invitation" tab. The invitation code can then be entered and the account created by clicking on "Register".
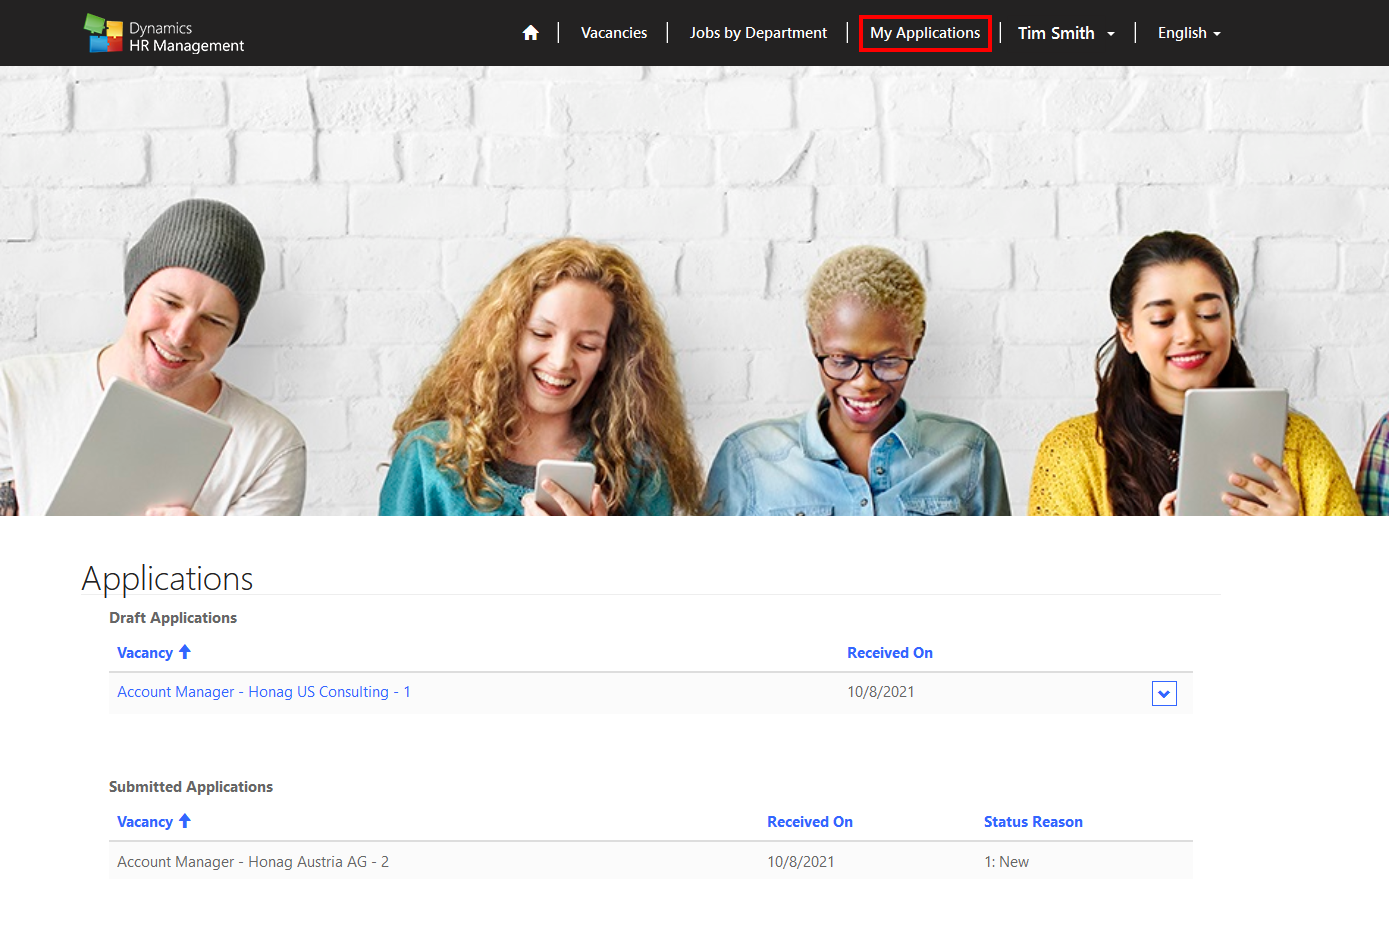
Once the applicant has successfully logged in, two additional tabs appear in the toolbar. One is "My Applications", in which the applicant can see an overview of his submitted applications.
Another is that a tab appears with his name, where he has further options. He can switch to his user profile, adjust his personal data or sign out again.
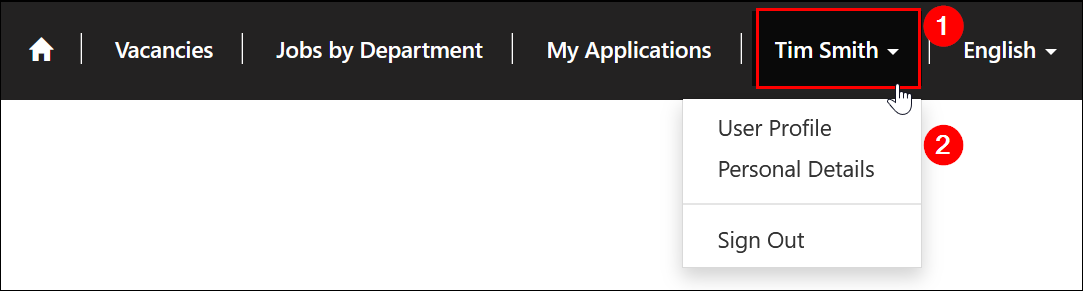
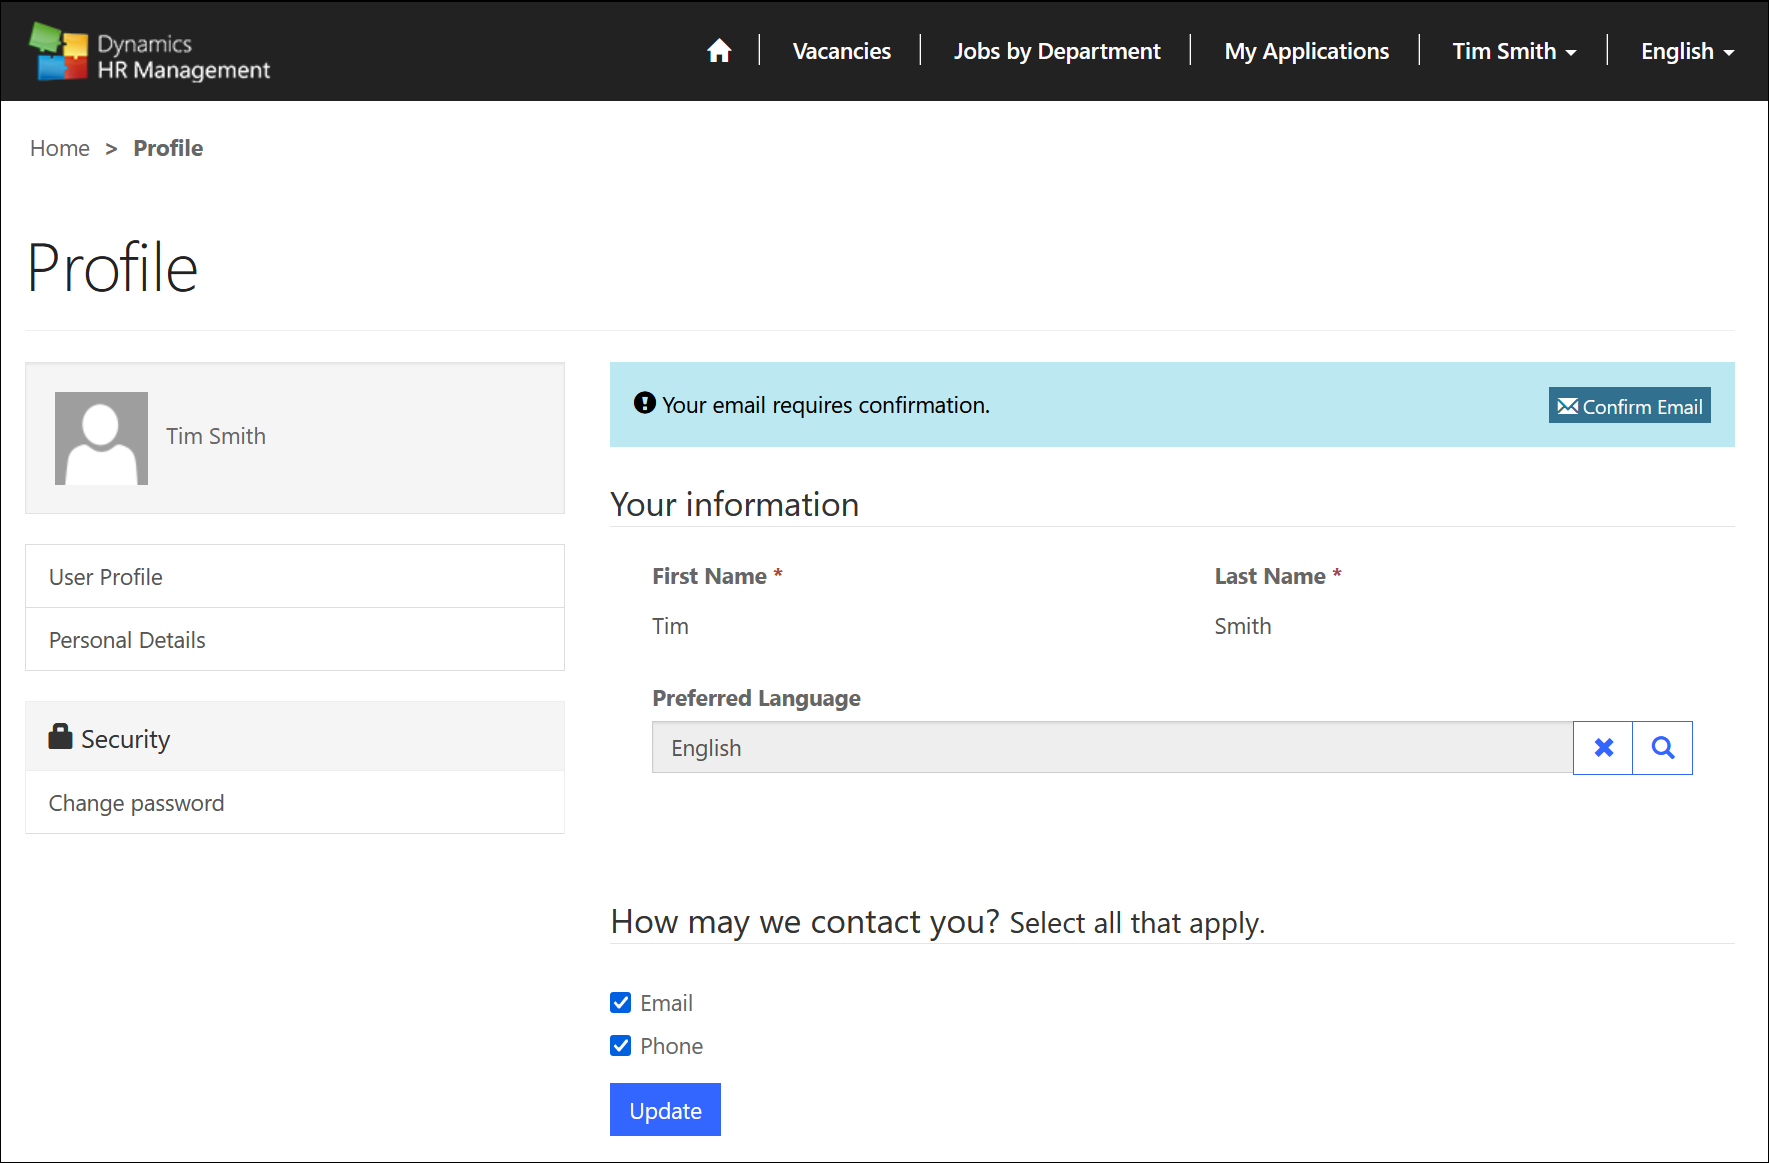
If the applicant switches to "User Profile," he or she is taken to his or her user profile.
Here the applicant can, for example, set how he would like to be contacted, whether by email or telephone - or both.
In addition, he can also change his password within his user profile, should this be necessary for security reasons or something similar.
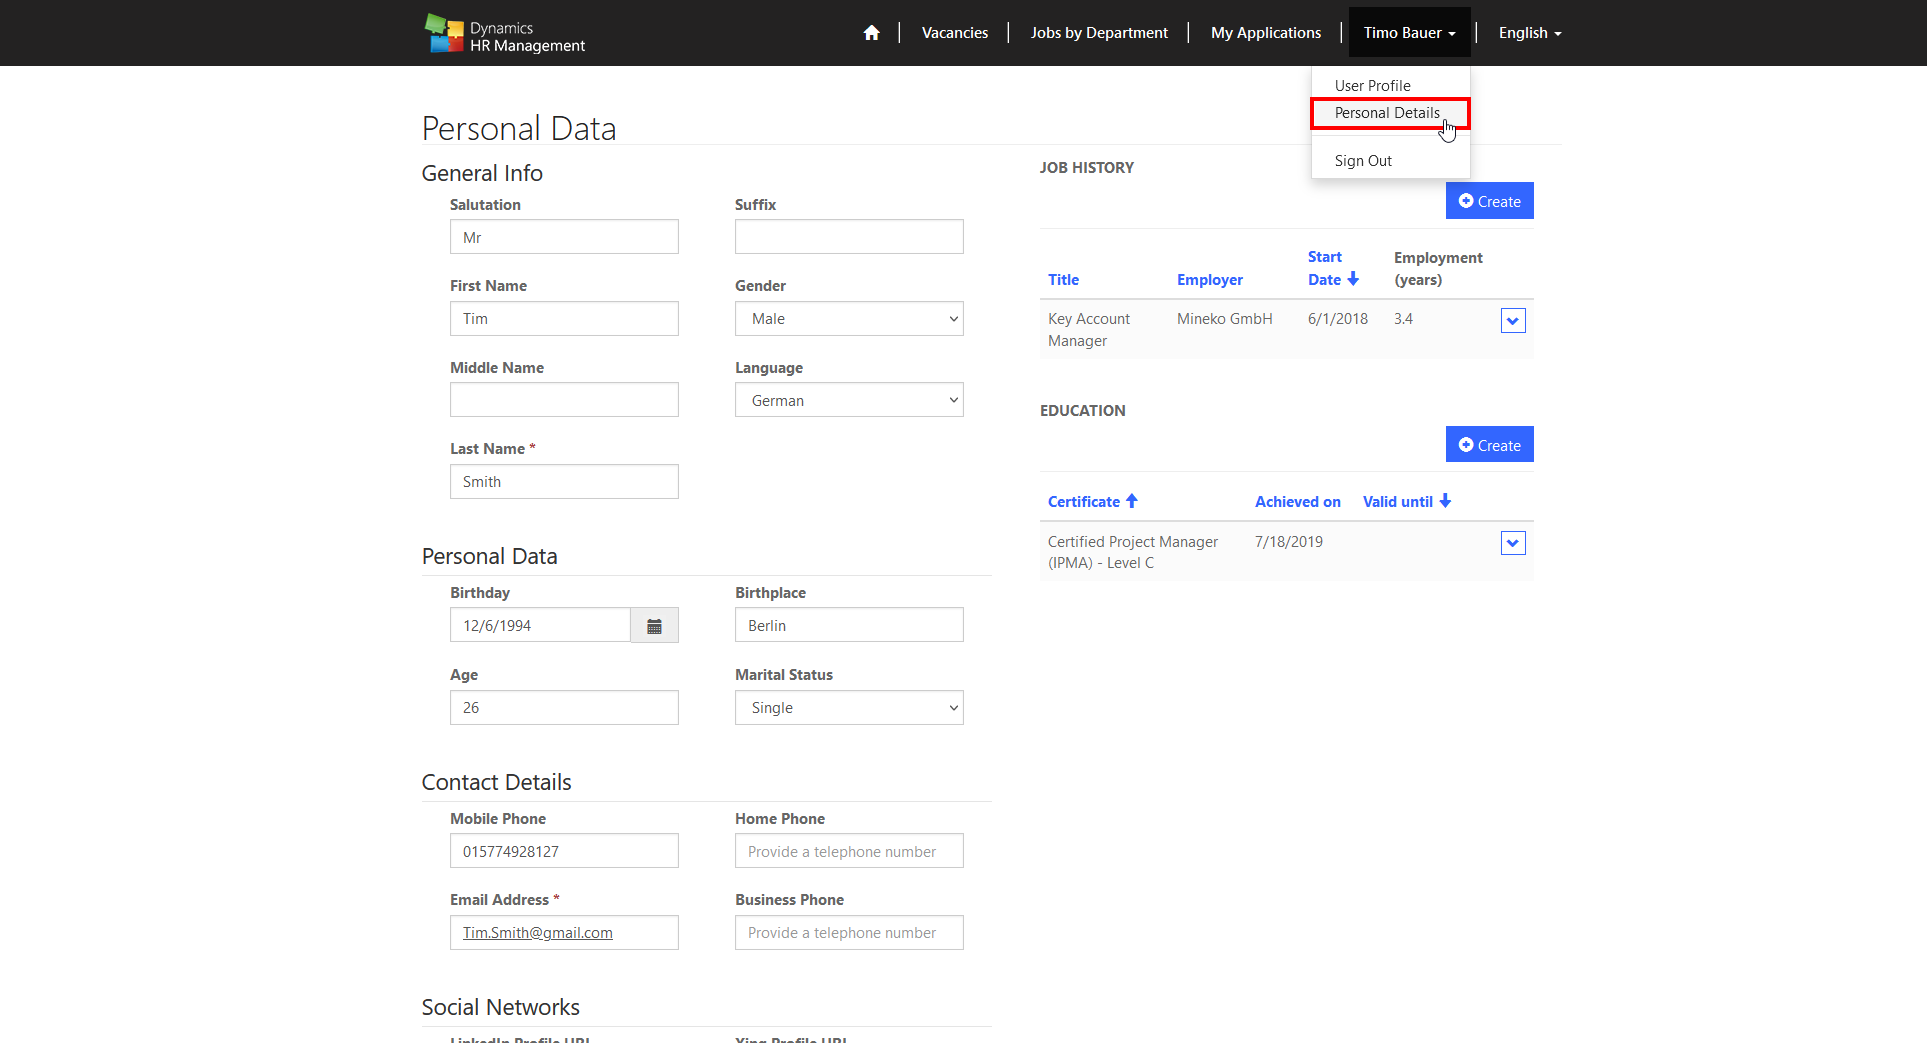
The applicant can change his personal data by either clicking on his name in the toolbar and then on "Personal Details" or he can also go to the "Personal Details" within the user profile on the left side. Here he can then adjust and update his personal data in the form.
- Language
The applicant can change the language of the Recruiting Portal at any time by clicking on the currently set language and then selecting another language that is stored. In this case, the two languages German and English are stored.

Installation
To install the Recruiting Portal at your site, please follow the steps below.
Navigate to https://make.powerapps.com/. Please check if you are in the correct environment.
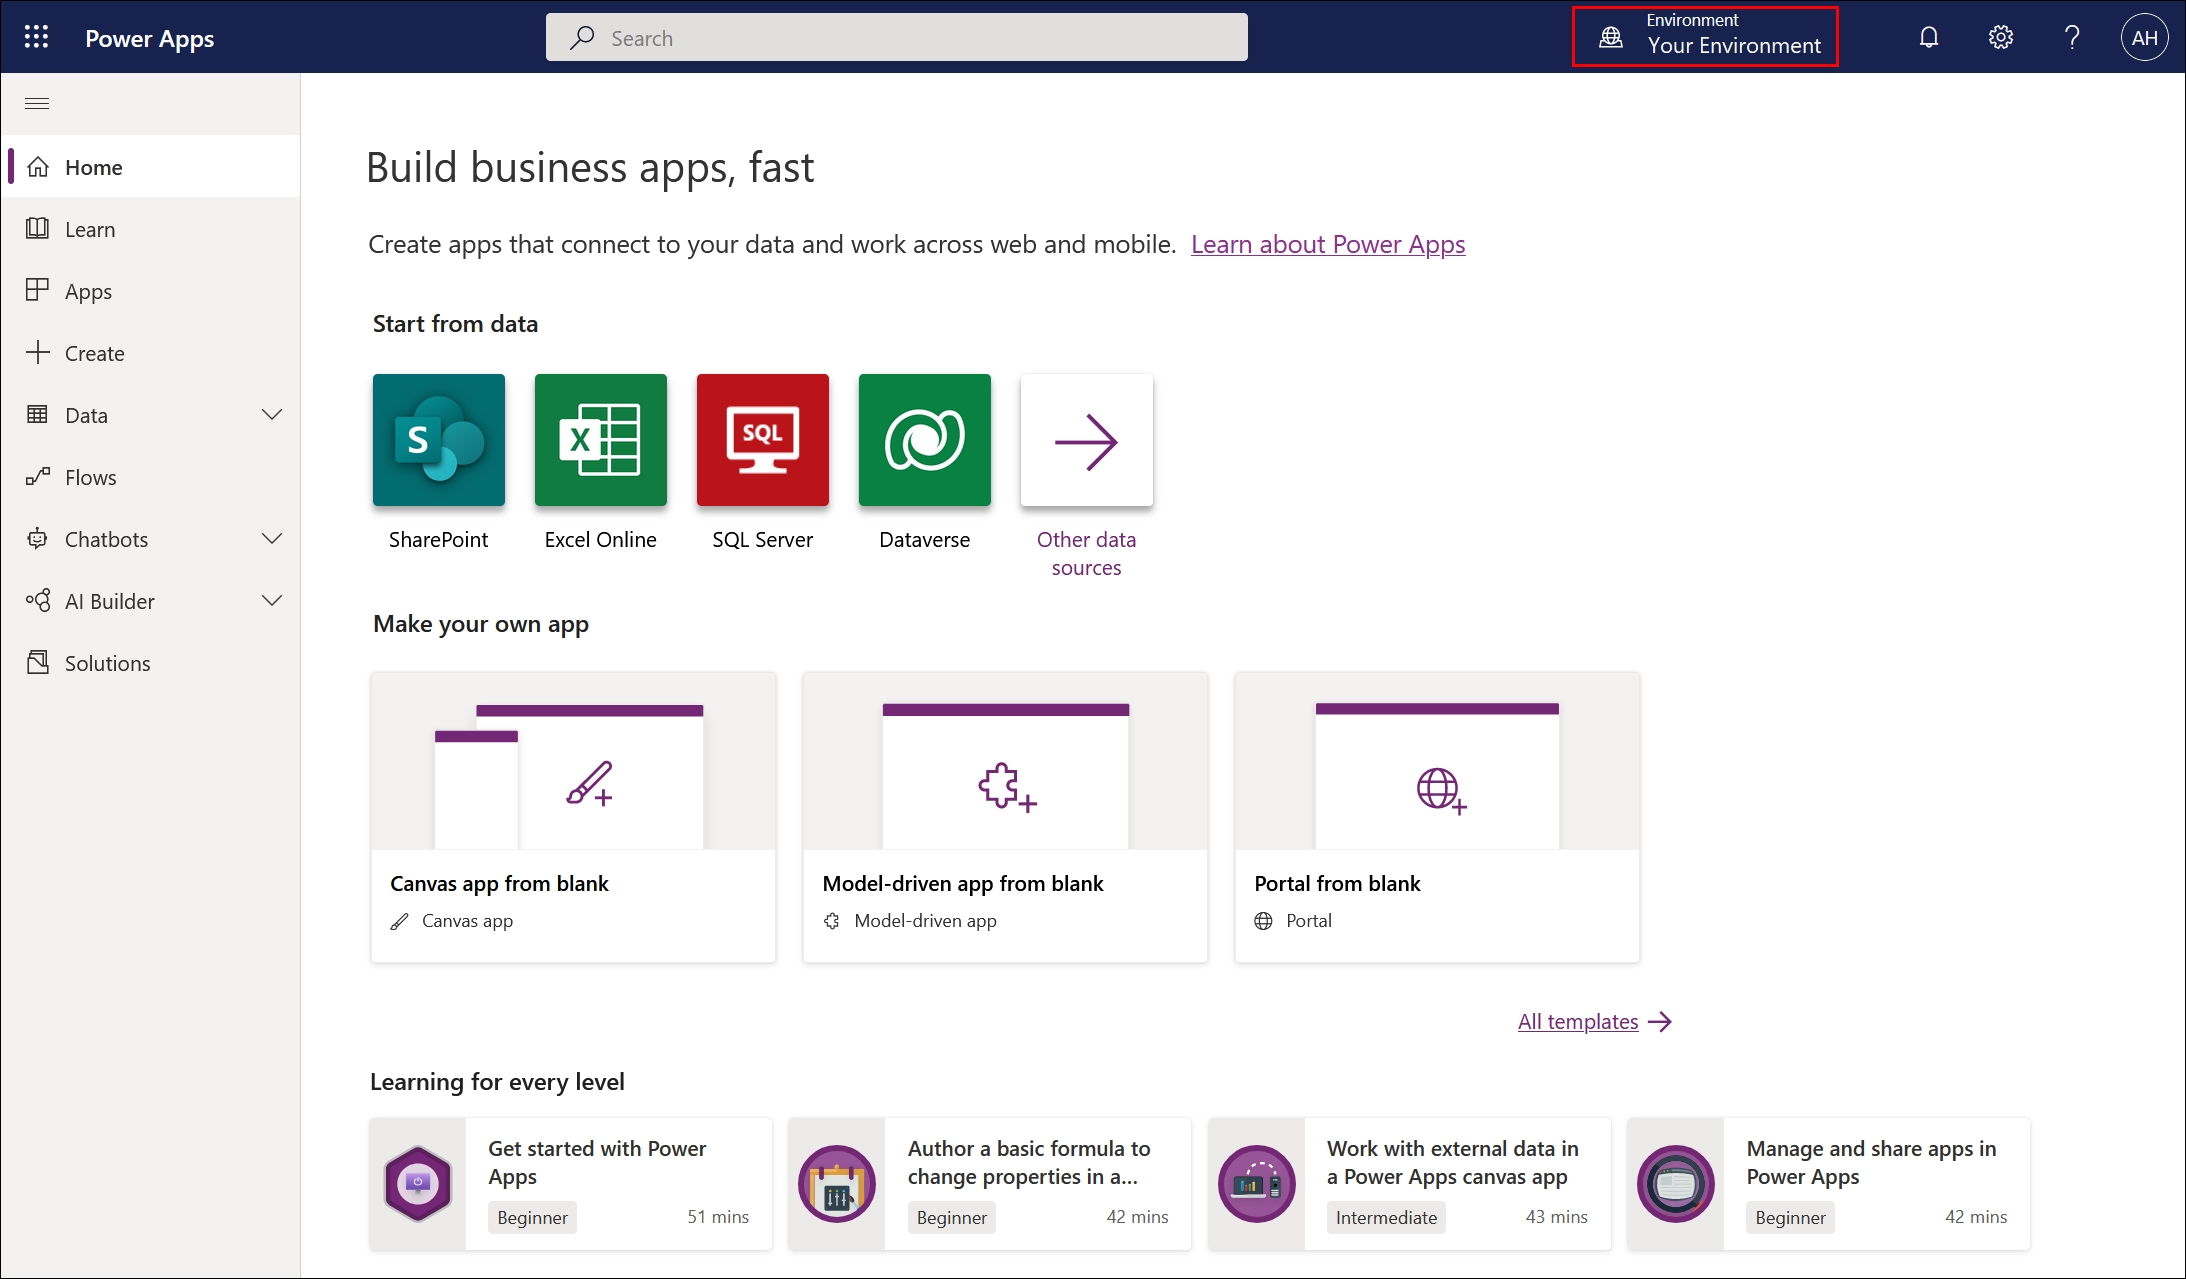
Click on "Portal from blank". A dialog window opens.
Enter a name and a temporary address here. You can change this later according to your needs and requirements.
![]()
Click on "Create". You will then receive a message that your portal will be deployed soon.
In the meantime, download and install the Addon-Solution für das Recruiting Portal - "Addon: Recruiting Portal Installer".
The Package Deployer will open. Follow the instructions. If you need help, you can refer to the following e-learning article: Import Solution.
Navigate back to Power Apps and select the Recruiting Portal and go to Settings.
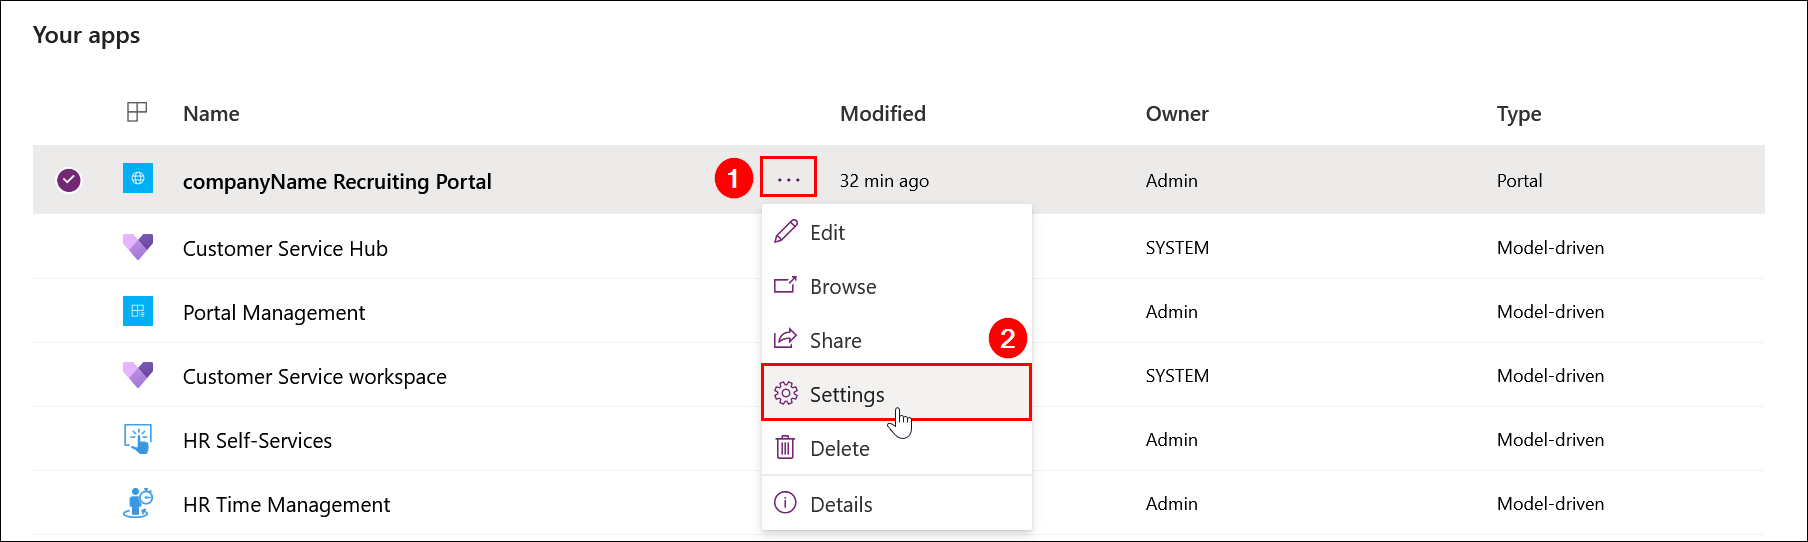
Then click on "Administration" on the right side.
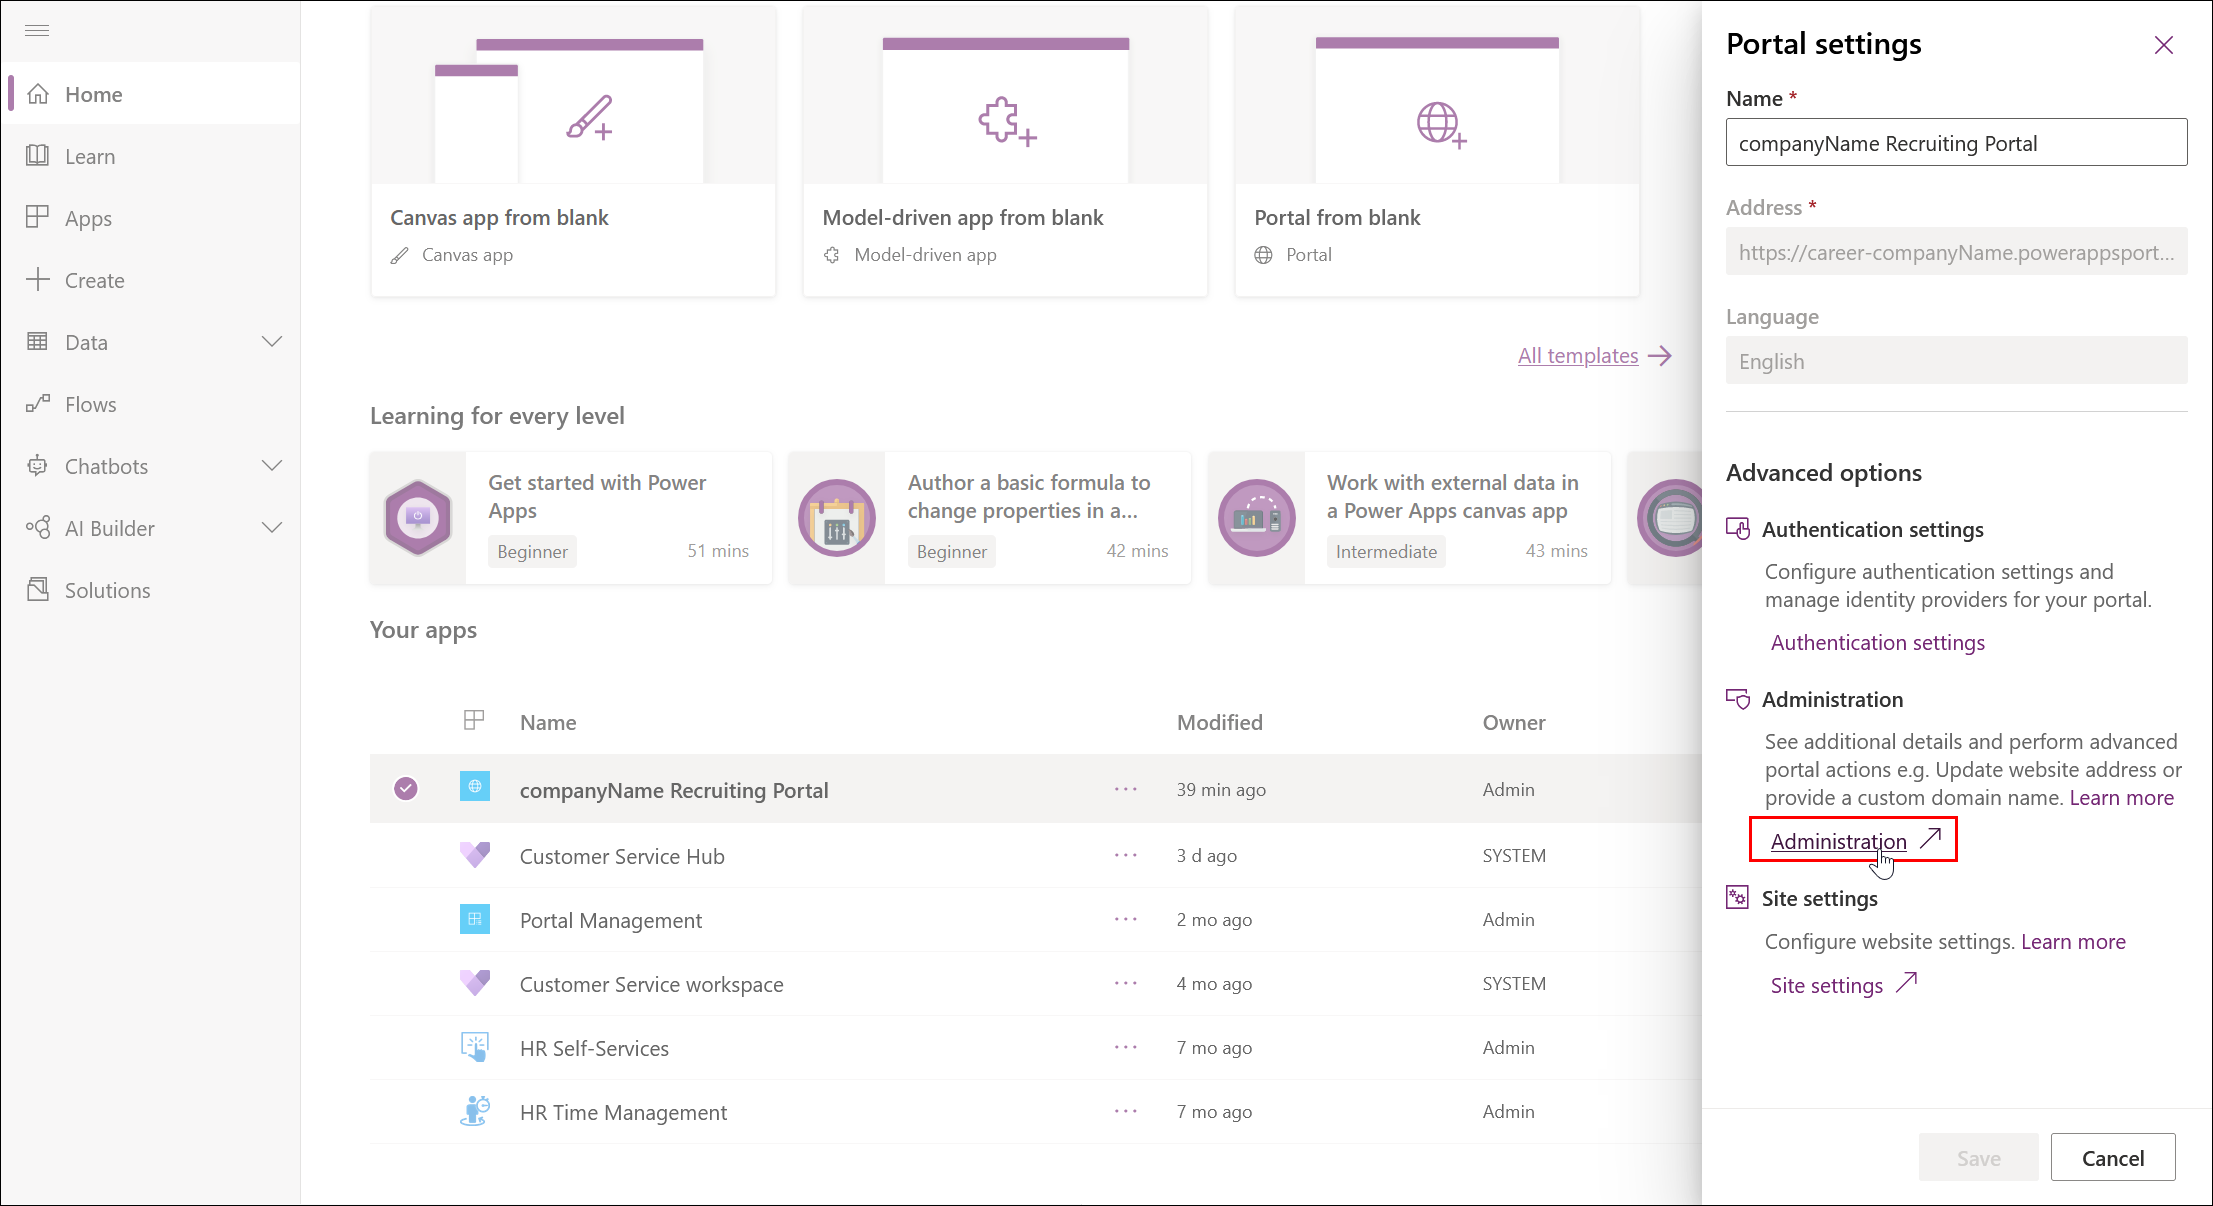
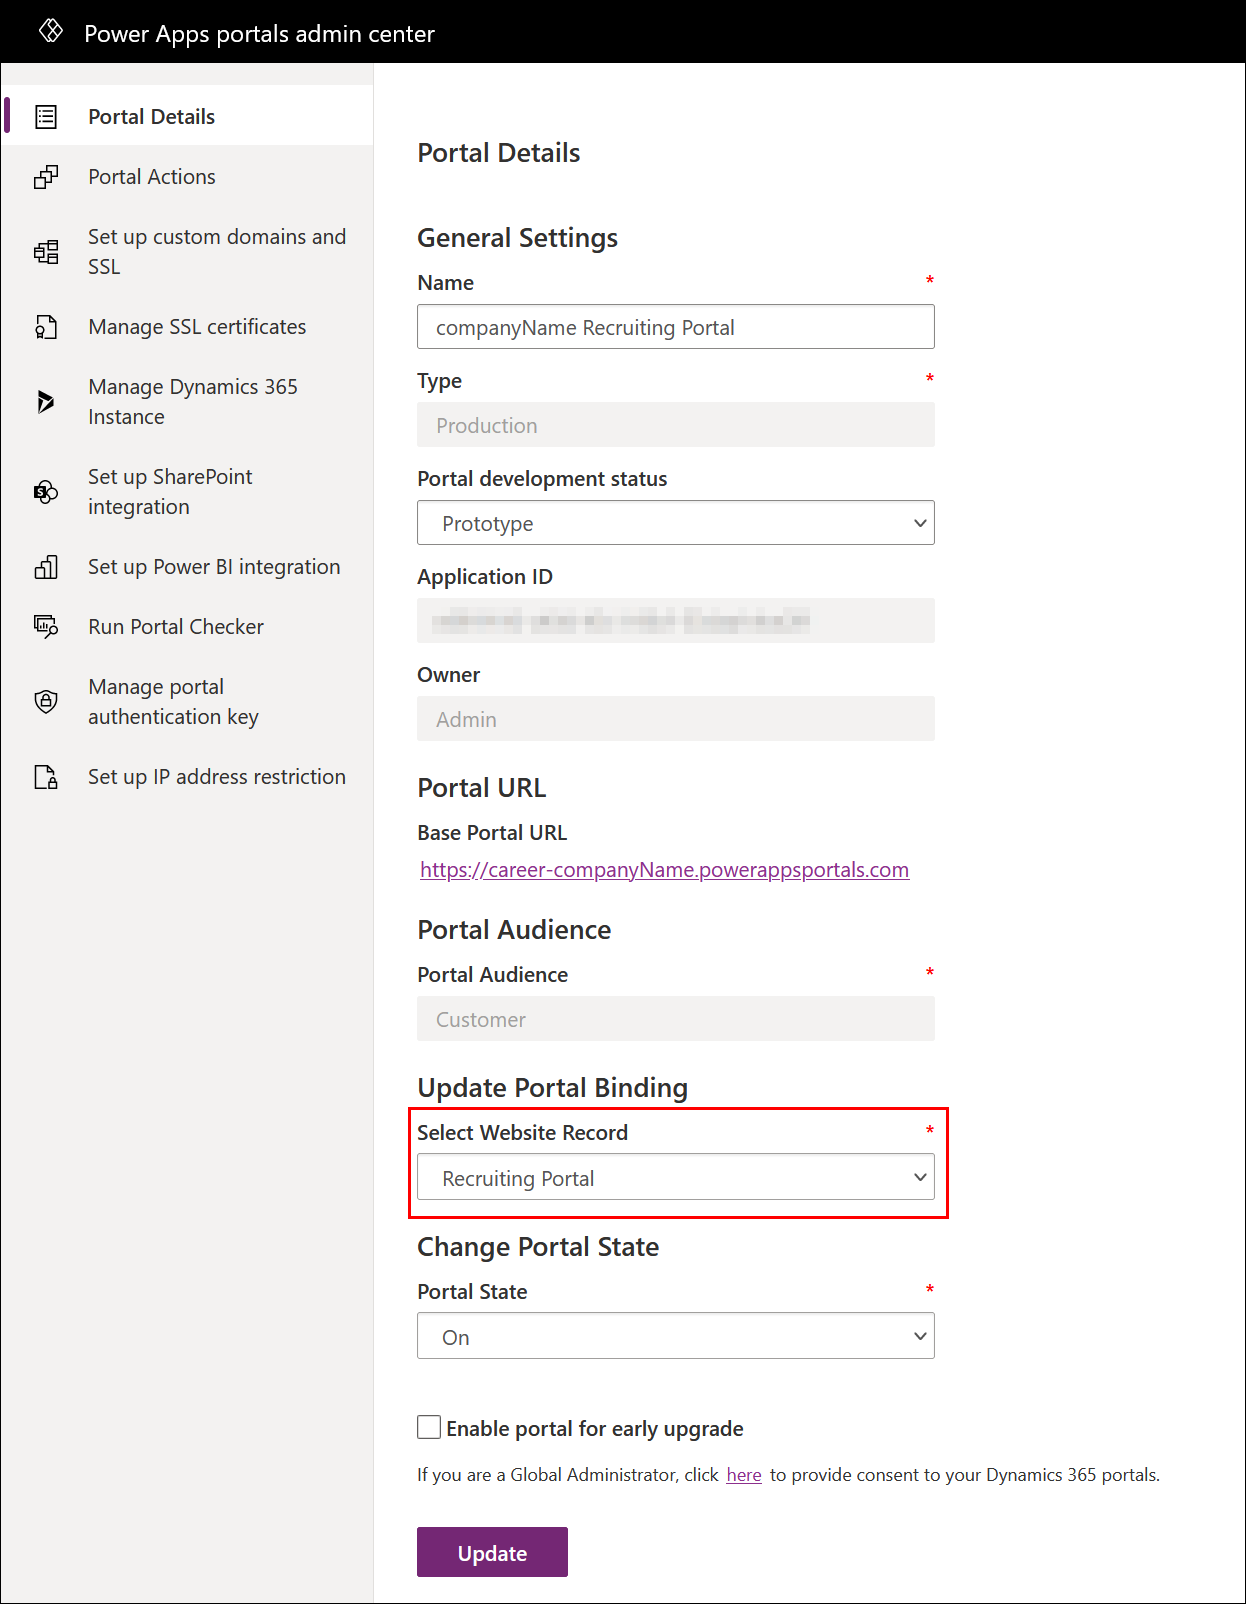
You will be redirected to "Power Apps portals admin center". Here you have the possibility to adjust the name of your recruiting portal once again.
For more information on how to change the portal domain on Power Apps, please take a look here: Update to Power Apps portals domain
If you have the "Type" set to "Test", please convert it to the production environment by following the converting button.
Please select "Recruiting Portal" in "Select Website Record" and then click "Update".
Customizing the Recruiting Portal
The Recruiting Portal can be adapted to your corporate design and your wishes and requirements.
We will be happy to support you with training in this regard if you would like to customize it yourself.
You can find more information here: Recruiting Portal Training
You also have the option to have the Recruiting Portal customized by us.
For more information, please click here: Customizing Recruiting Portal