If this is your first time doing this, we recommend you watch the Walkthrough Video at the bottom of this page first.
Set up the cloud platform for your HR solution
Objective
This page takes you through the process of setting up an Environment for your Hubdrive system. This is the first step needed to add Hubdrive to your Dynamics 365.
Process
System Admin
Create generic admin user in Azure Active Directory
System Admin
Create new environment in Microsoft Power Platform
System Admin
Add a database to your environment
System Admin
Finalize the environment
Prerequisites
- Office 365 is activated and configured in your organization
- PowerPlatform Licenses are available:
- You have bought PowerPlatform Licenses from Hubdrive (if not: contact us)
- You have authenticated by clicking on the link in the email from our Finance Team
- We have booked the licenses into your tenant
- You can check this in the Microsoft 365 admin center:
- Under 'Billing' click on 'Your products'
- All licenses booked into your tenant are displaced in the list
- Please keep in mind that after we booked in your licenses, it may take up to one day for them to show up in the list
- You have storage capacity available after we have booked in your Microsoft Licenses
- For the first step: You have Admin access to the tenant on which the platform for your Hubdrive solution should be created
Click Through
Part 1: Set up generic admin user
- This first step needs to be done with an Admin user of the tenant on which your cloud platform for Hubdrive will be created.
- Log into the Microsoft 365 admin center with your credentials
- In the section Users -> Active users, click on Add a user
- Fill First name, Last name, Username and Password
- Use generic information here - e.g. First name: "System", Last Name: "Admin", Username: "Admin"
- The Display Name is automatically created from First name and Last name
- Click on Next below
- Select a Location, this is the usage location - select your country
- Apply the correct Licenses:
- A Microsoft 365 Plan (the base license of your tenant, e.g. 'Microsoft 365 Business Standard')
- A PowerPlatform license (the one you bought from us, e.g. 'Dynamics 365 Customer Service Enterprise')
- Microsoft Power Automate Free
- Power BI (free) [optional]
- Make sure the correct Apps are selected
- Click on Next below
- Open the Roles Dropdown menu
- Select Admin center access and check the checkmark for Global Administrator
- Click on Next below
- Review all information for accuracy
- Click on Finish adding
- Your generic admin user is now set up and it's time to create the environment for your new HR solution
- Log off and close your browser window.
- If you are implementing with a partner, give them the credentials of the generic admin user you just created, in order for them to be able to set up everything else for you.
- If you are implementing yourself, make sure to write down the credentials of the generic admin user and keep them at hand- this access is important for all upcoming implementation steps.
Part 2: Set up the cloud platform
- Log into the Power Platform admin center with your newly created generic Admin Account.
- Click on Environments, then on + New.
- Fill out the first page:
- Name: name your environment however you like.
- Region: pick the correct region your licenses are from.
- Type: Either Sandbox or Production.
- Sandbox: For Test- and Development-Environments.
- Production: For Production Environments.
- Purpose: Fill out optional, for your own information.
- Add a Dataverse data store?: Always set to Yes, can't be made up for later.
- Pay-as-you-go with Azure: Leave on No unless your company uses Azure Subscriptions to pay for Power Platform services.
- Click next
- Fill out the second page
- Language: Select a Base Language. We recommend using English. German and French are also supported.
- Customizing is done in the selected Base Language.
- Currency: Select your preferred currency
- Security Group: You don't need to add anything here. Security is configured later in this setup. Optional setup for companies who use this already, otherwise set this to none.
- URL: Insert your desired URL. The URL needs to be unique.
- Enable Dynamics 365 apps?: Always set this to Yes.
- Automatically deploy these apps: At least one option needs to be selected. Only available if the correct Region on the previous page is selected and after a corresponding Microsoft License was booked in.
- Language: Select a Base Language. We recommend using English. German and French are also supported.
- Click on Save
Hint
- The generic admin user you create the environment and install the solution with will be owner of all workflows to make sure they run without any errors.
- After saving it may take a few minutes until the environment is finalized.
- After the new environment has been created, please provide its unique name to us so we can create your Hubdrive Licenses. Your license manager will receive an email from us asking for this unique name. You can find a tutorial on where to find the unique name here.
- You can convert your Environment to either Sandbox or Production at any time. To be able to restore backups, convert your Environment to Sandbox.
Recommendations
- Teams, Outlook and SharePoint integration features can only be used if Enable Dynamics 365 Apps is set to Yes and at least one option in Automatically deploy those apps is selected.
Result
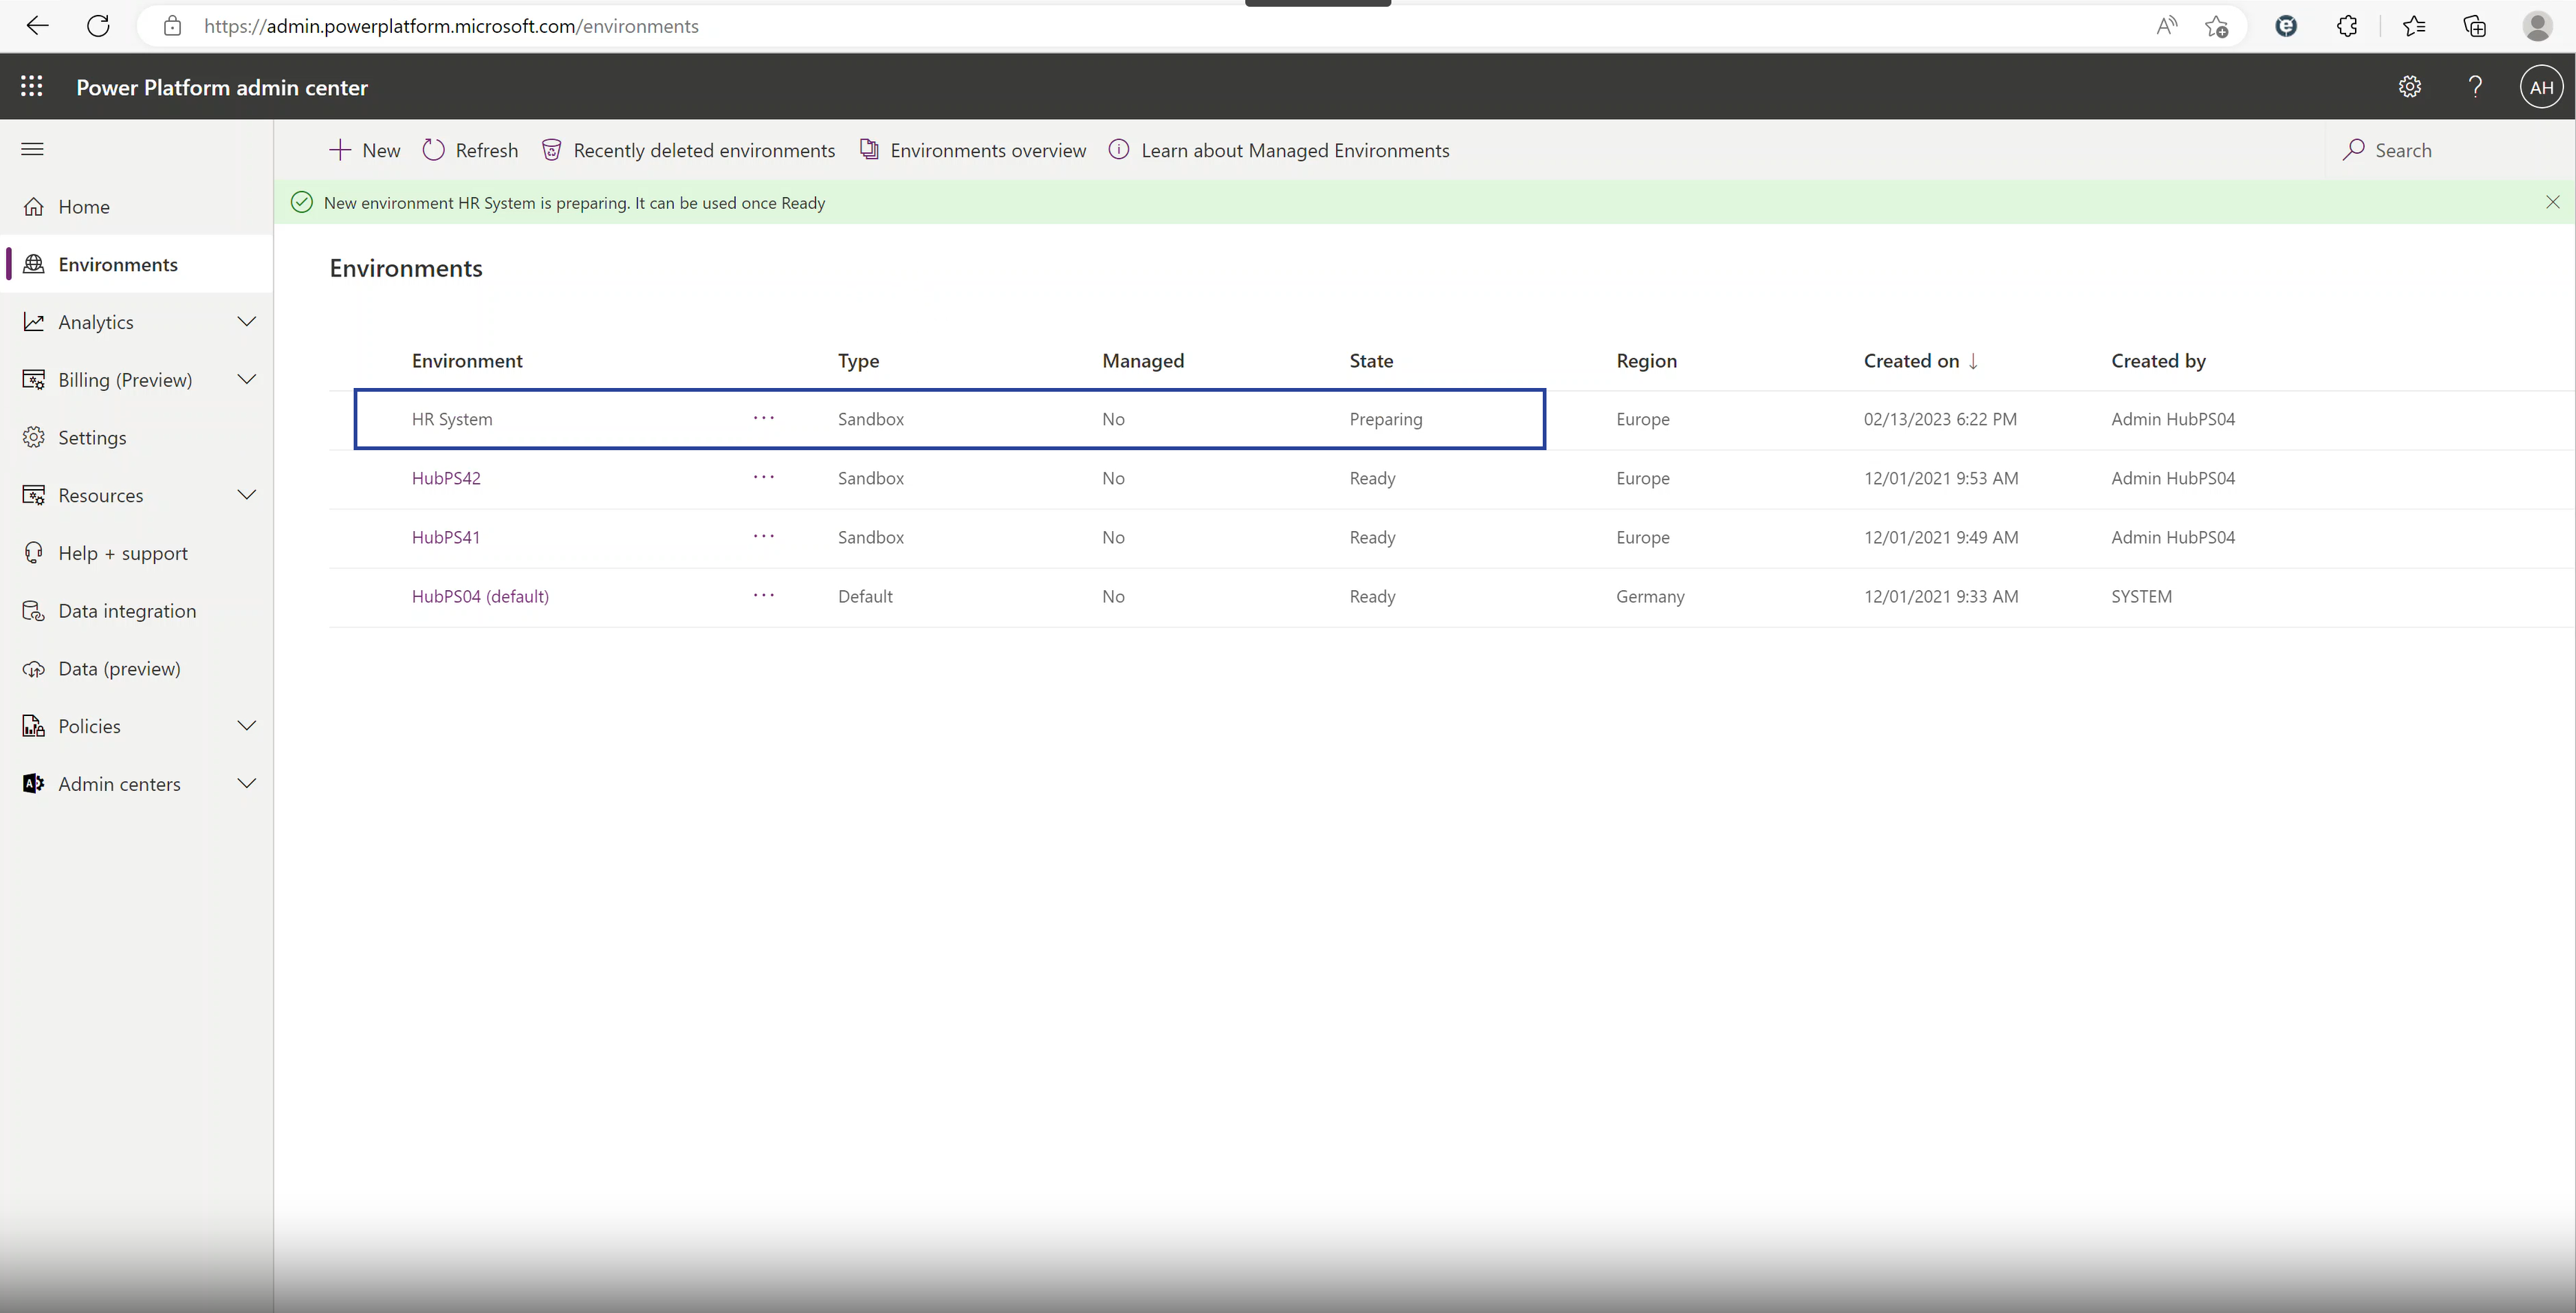
Once your new environment has been saved, it will show up in the list of environments in your Power Platform admin center. After finishing preparation, its status will set itself from "Preparing" to "Ready".
Next Step
- Next, you can add additional languages to your Cloud Platform. Hubdrive supports English, German and French throughout the whole HR solution. For Employee Self-Services, Spanish is also supported.
Careful: Additional languages have to be added before you install the HR solution. - If you are certain you don't want to add any additional languages, the next step for you is to enable your Users to use Microsoft Dynamics.

