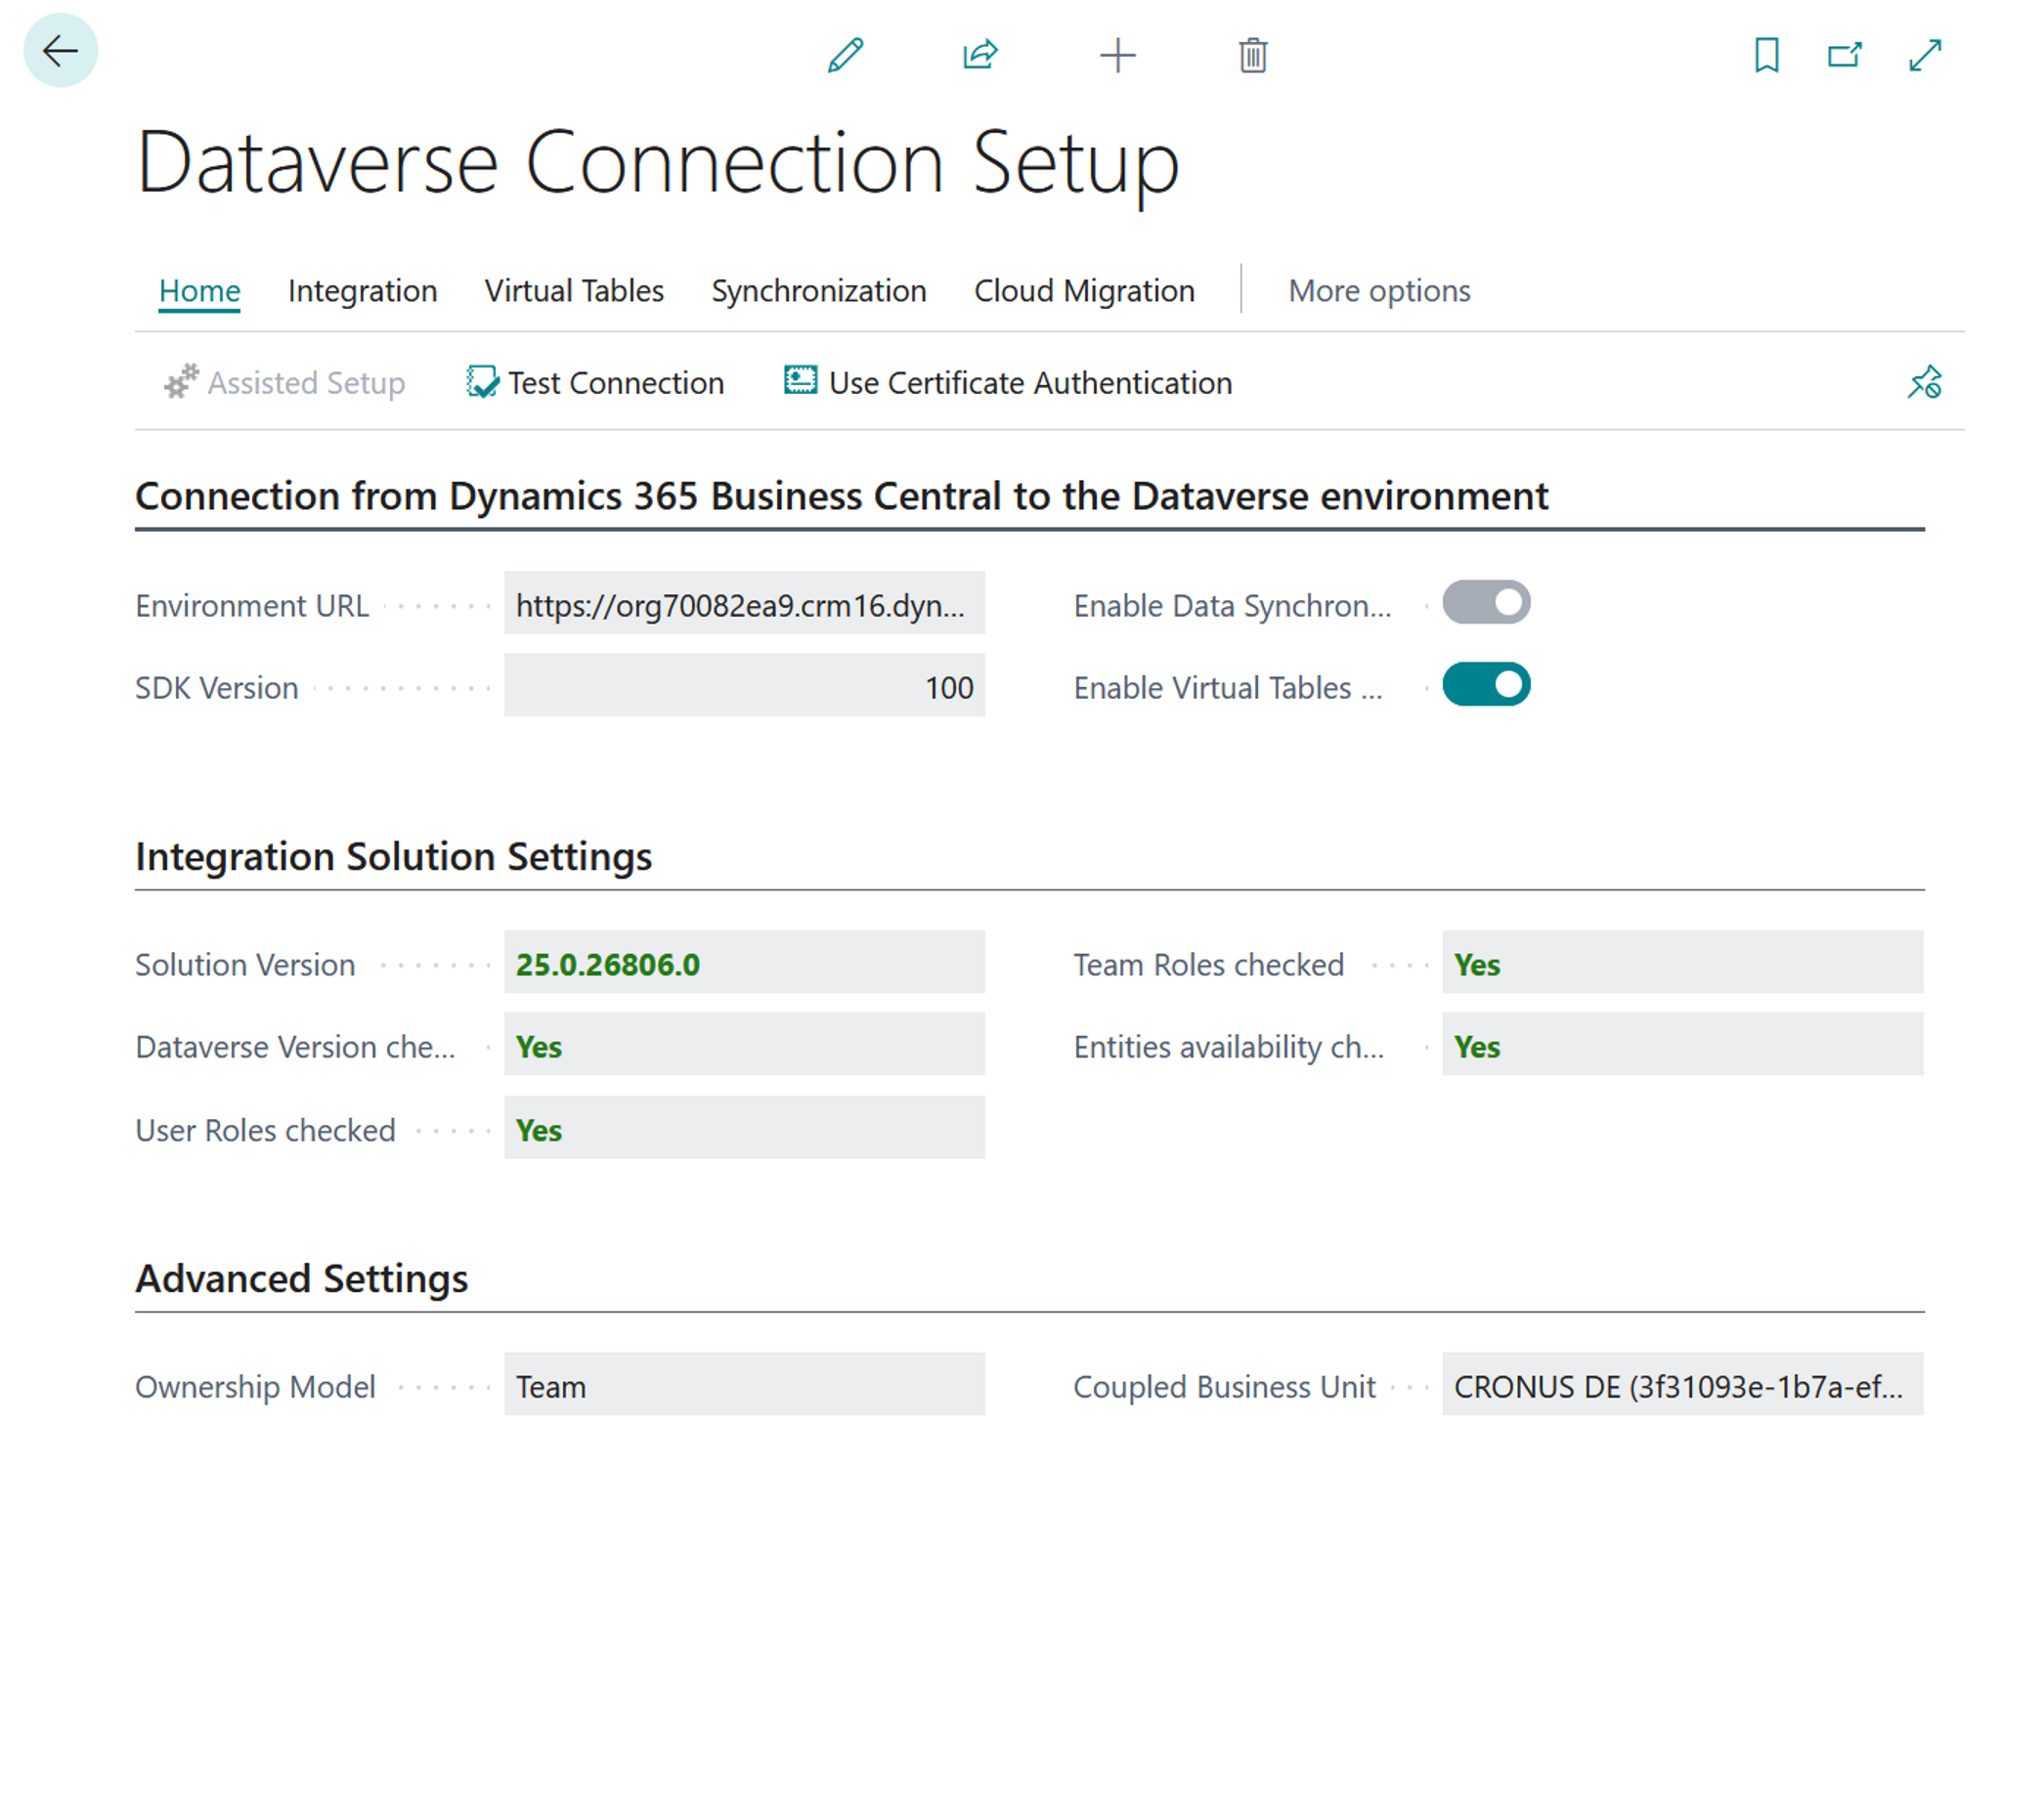
Business Central Connection Setup
Objective
This tutorial will show you the first step on how the integration between Business Central and Hubdrive is made. After finishing the integration you will be able to synchronize employees, files, skills, projects/processes and resources and timesheets. Since this tutorial is more technical, its recommended to be performed by someone with IT knowledge.
Prerequisites
- Tenant with valid Business Central licenses
- Rollup 46 installed (or any above version)
- Business Central environment
- Hubdrive environment
- You have admin role
Click Through
- Open your Business Central environment
- Look for Dataverse Connection Setup using the search function in the top-ribbon
- Click on Always allow
- In Environment URL, click on the 3 dots
- Select the environment to be connected to
- Click on Assisted Setup
- Enable data synchronization
- Enable virtual tables and events
- Click on Next
- If asked, accept the terms
- Again, select the environment to be connected to
- Click on Next
- In the next phase, select Team and click on Next
- After the process is done, click on Next once again
- Do not click on Finish
- Click on Install Business Central Virtual app (do not close this tab)
- Click on Get it now
- Sign in with your admin email
- After being redirected to Dynamics 365, select your environment
- Mark the checkboxes
- Click Continue
- Wait for the process to complete and return to Business Central
- Refresh the small pop-up window with the Refresh button at the bottom of the window to check if the installation is complete
- Click on Finish
Hint
- This is only the first step in the integration setup. Please proceed with the following tutorial: Install Appsource offer
