With the recruiting portal you get a complete platform that can be used directly or fully integrated into your website.
You can create job offers in your Hubdrive solution and publish them in the recruiting portal with one click. Any change you make is automatically applied, so the vacancy is always up-to-date.
This Tutorial shows you how to install the Recruiting Portal.
Install Recruiting Portal
Objective
Prerequisites
- You are System Admin
- Hubdrive Flows Solution is installed
- You have access to the Hubdrive Customer Portal
Click Through
Step 1: Ensure Prerequisites in the Admin Center
- Start in the Power Platform Admin Center
- Go to Environments
- Select your Environment where you would like to have the Recruiting Portal
- Click on the three Dots next to the Environment's name
- Go to Resources and click on Power Pages sites
- Ensure that the flip switch Switch to enhanced data mode in the top bar is turned on
Step 2: Download Recruiting Portal Solution
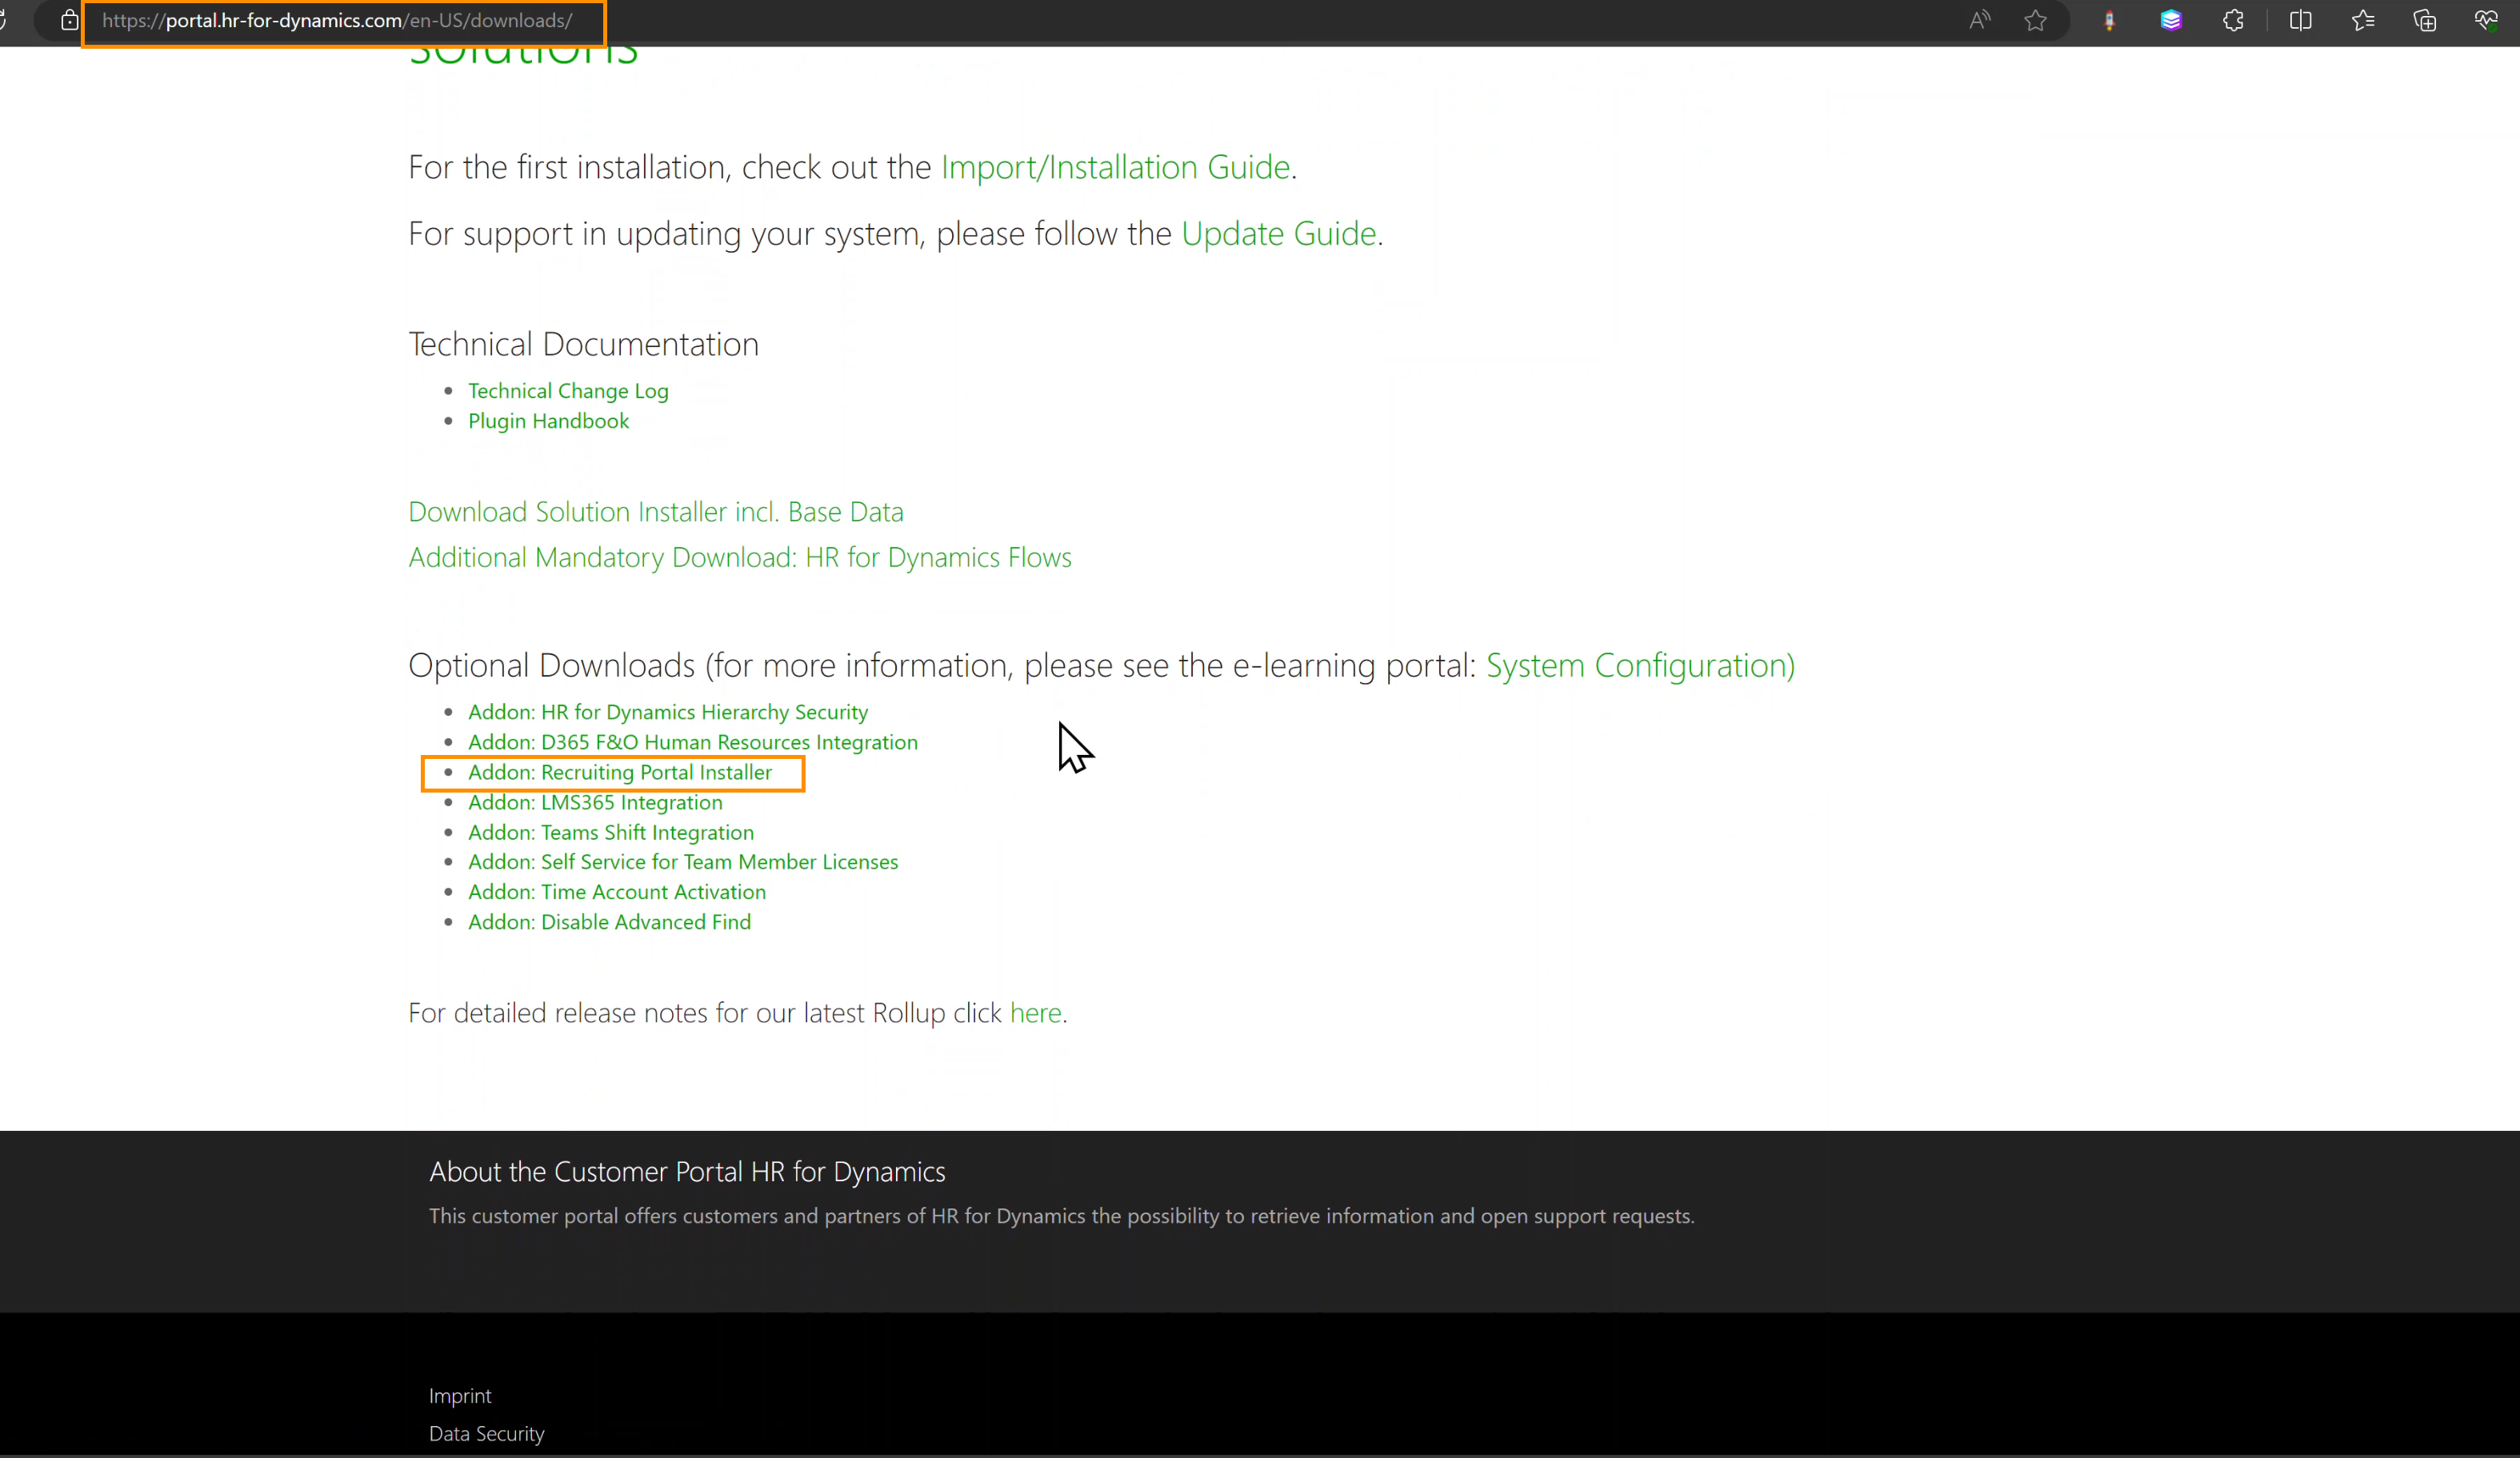
- Open the Customer Portal and sign in
- Go to the Downloads section
- Click on Addon: Recruiting Portal Installer to download the Recruiting Portal managed Solution
Step 3: Import Recruiting Portal to PowerApps
- Log in to PowerApps
- Select the correct Environment in the top right corner
- Select Solutions
- Click on Import Solution
Browse and select the Hubdrive_Recruiting_Portal file you just downloaded - Click on Next twice
- Click on Import
- Wait until the solution is imported
Result
Here, you can see the Customer Portal, where you find the Installer. After finishing the installation, the Recruiting Portal needs to be published.