Employee self-service: Auto-approved Leave Requests (optional)
Objective
This page describes the process of an employee requesting and approving their own leave request via self-service. This functionality is only available if it is supported by your organization.
Process
Employee
Request leave
Automated process
Leave is automatically approved
Click Through
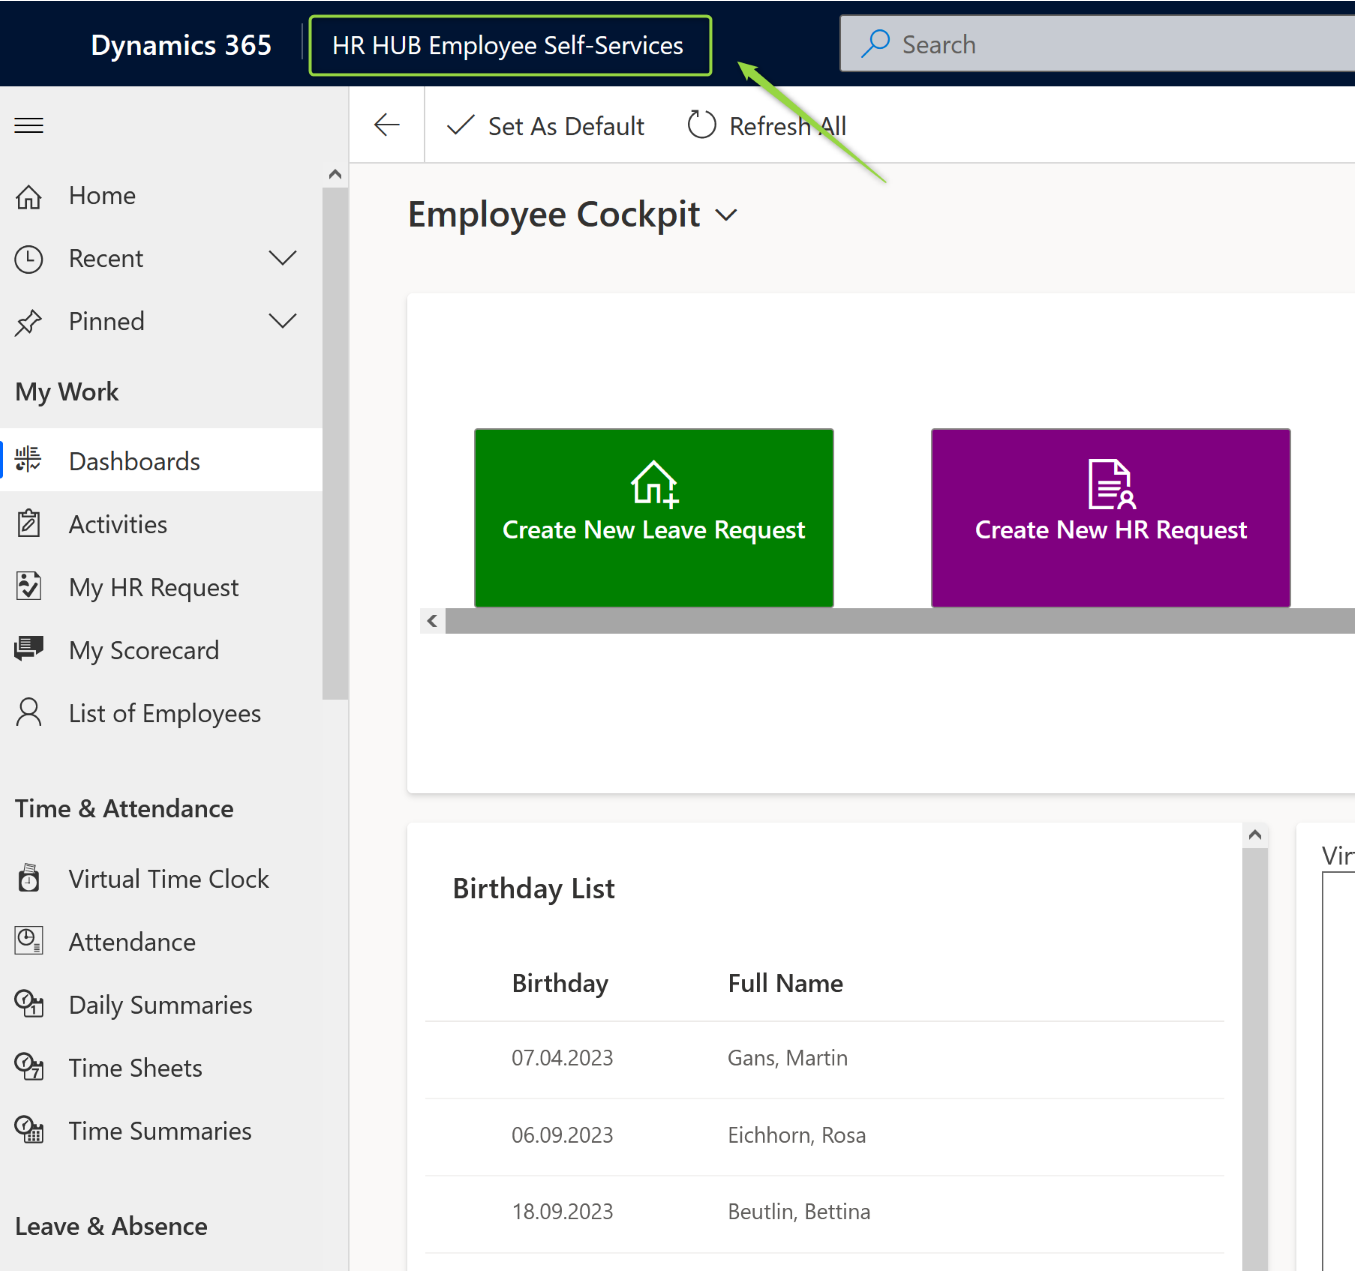
- Start in HR HUB Employee self-service
- Go to the Employee Cockpit
- Click on Create New Leave Request
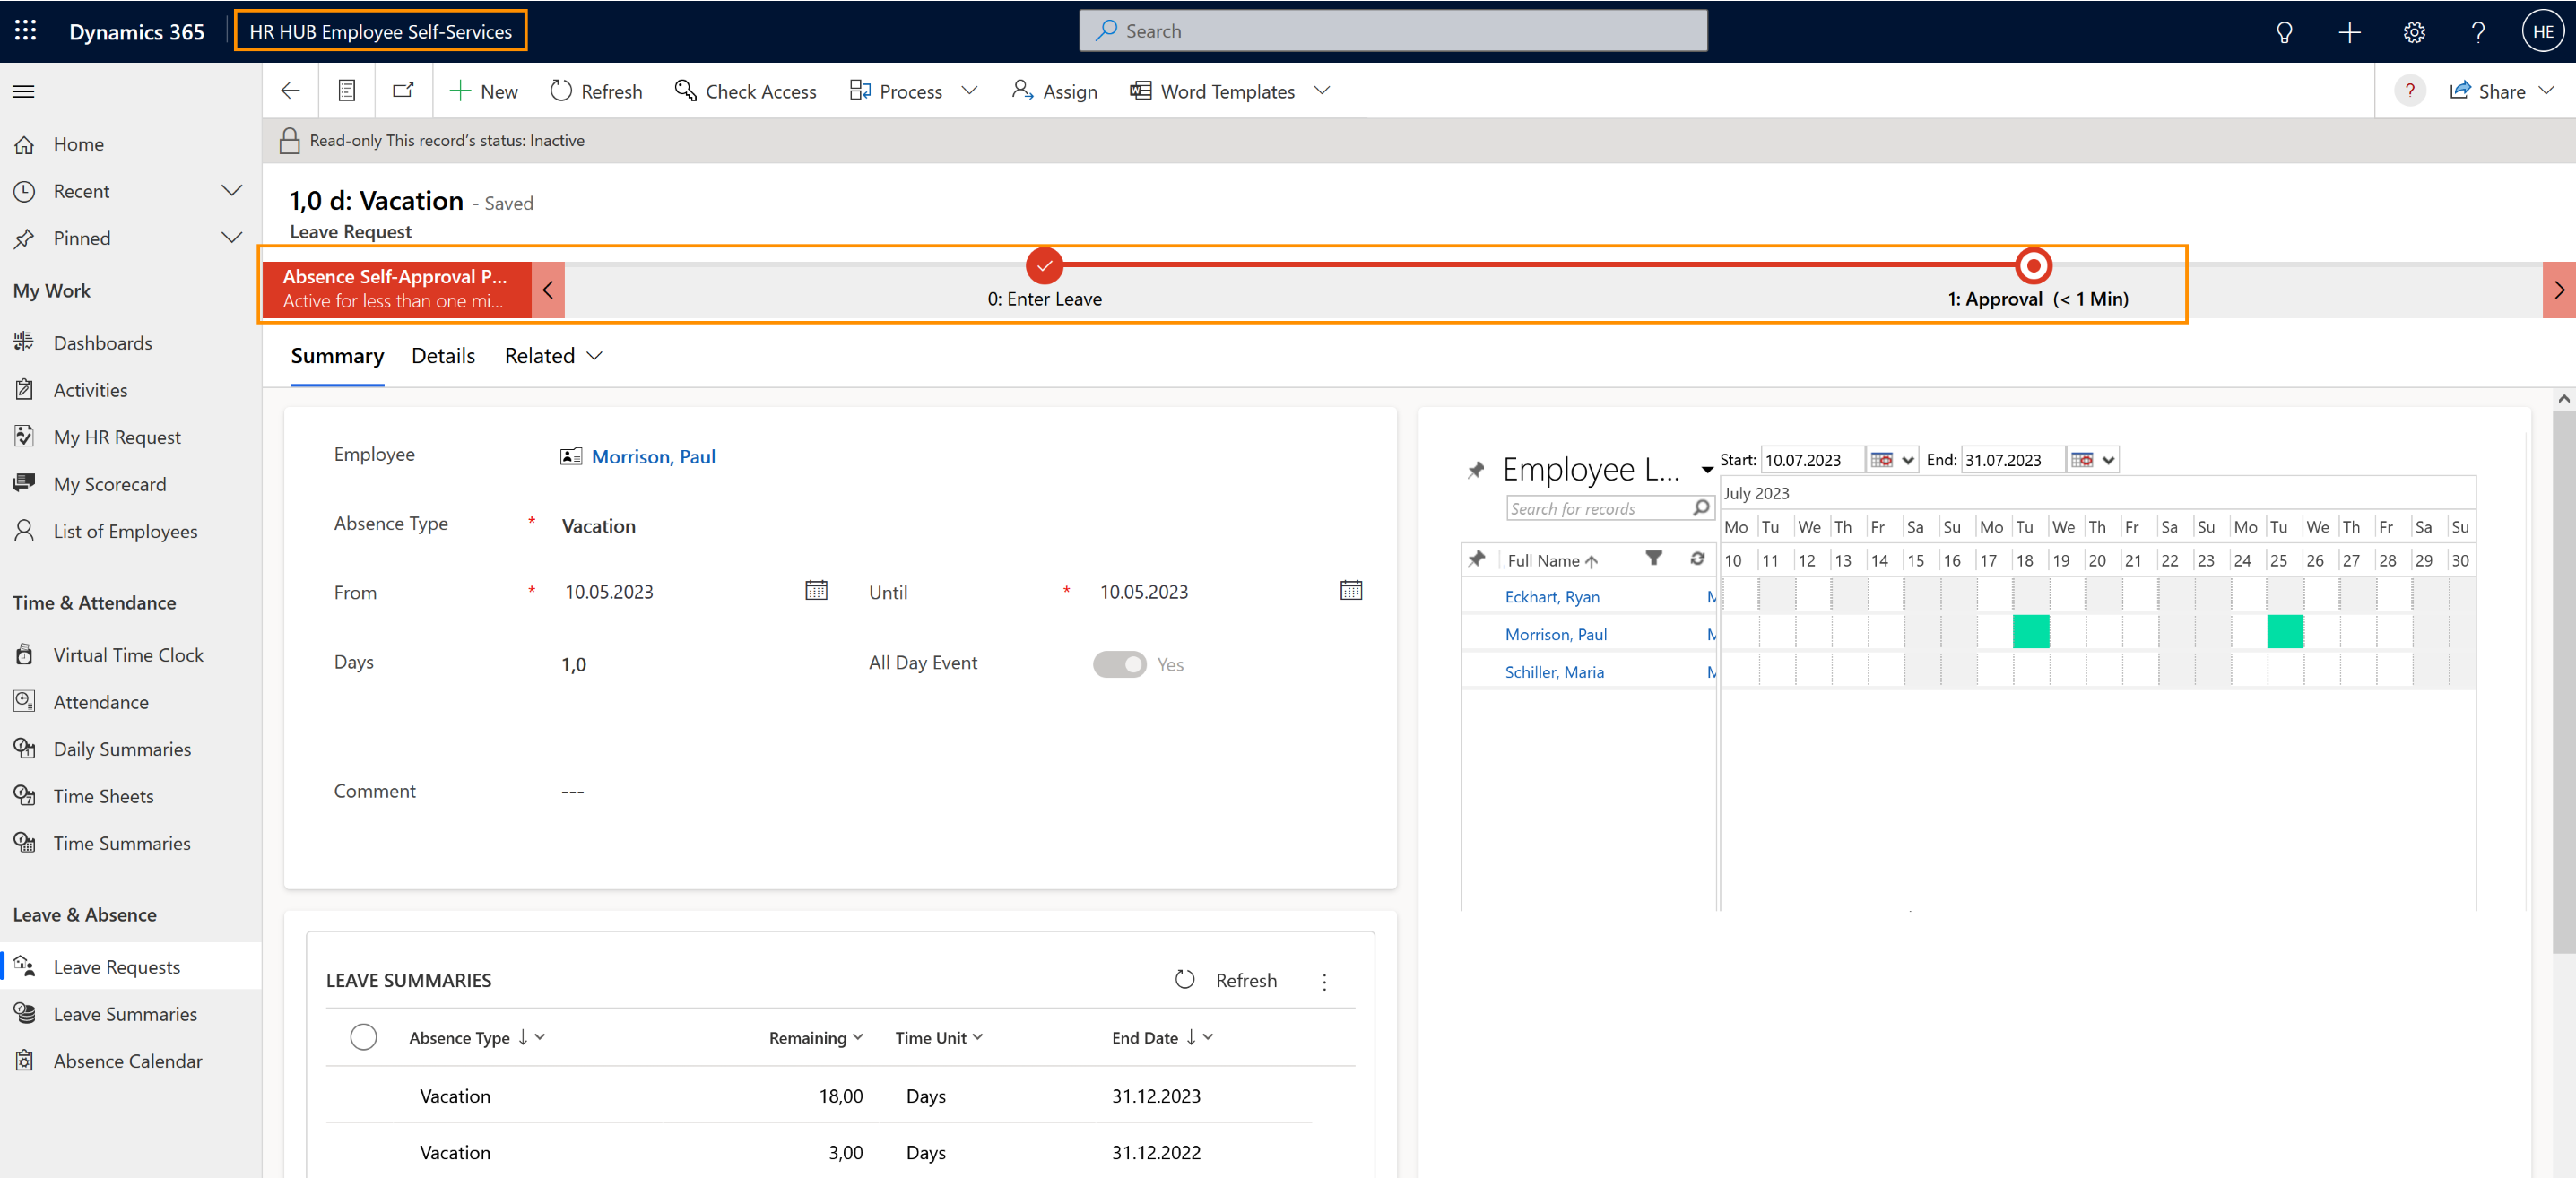
- Add the dates From and Until
- Select if it's an All Day Event
- Save your leave request as a draft
- Check if data is correct
- Click on Submit
- Leave is approved automatically
Hint
- If you want to apply for half a day of leave, set the All Day Event button to No. You can then select if the Leave should be during the start of the day or during the second half of the day.
- You will be notified via email once your leave request has been automatically approved.
Result
Once your leave request has automatically been approved, you can see your leave in your Absence Calendar.
You can also see your leave requests in the system in "My leave requests" and in the active leave summaries.
You can also see your leave requests in the system in "My leave requests" and in the active leave summaries.
Tips & Tricks
If you were not able to enter an auto-approved Leave Request as described above, please contact your HR department and have them check the following:
- The employee has a valid Employment Term.
- Areas and Calendars are configured in your System.
- Make sure there's a Primary Work Location in the employee's Digital Personnel File.
- The Employee must have a valid license assigned.
- Leave Submission self-service is enabled by HR Manager:
- Within Absence Type Settings, the respective absence type (e.g. vacation) is enabled for Self-Service
- Within the Leave & Absence tab of the employee's Digital Personnel File, the Leave Setting "Absence Self-Approval" is enabled