
Personal data and the Digital Personnel File
1. Initial collection of personal data
2. Digital Personnel File
3. Leave Management
4. Time Management
5. Skills
1. Initial collection of personal data
When you start at a new company, you usually have to enter your personal and business-relevant data first. This includes, for example, your address, your health insurance or your bank details.
For this purpose, there is a practical feature. You will receive an e-mail that could look like this:
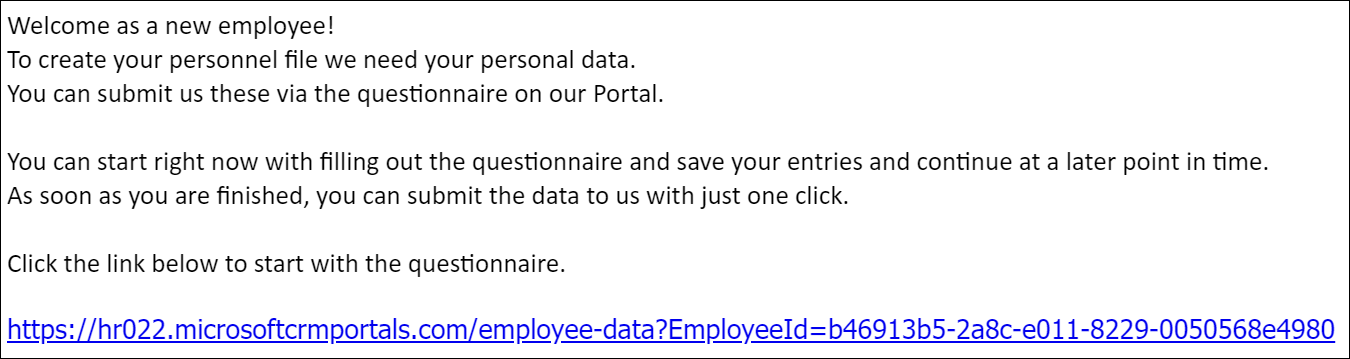
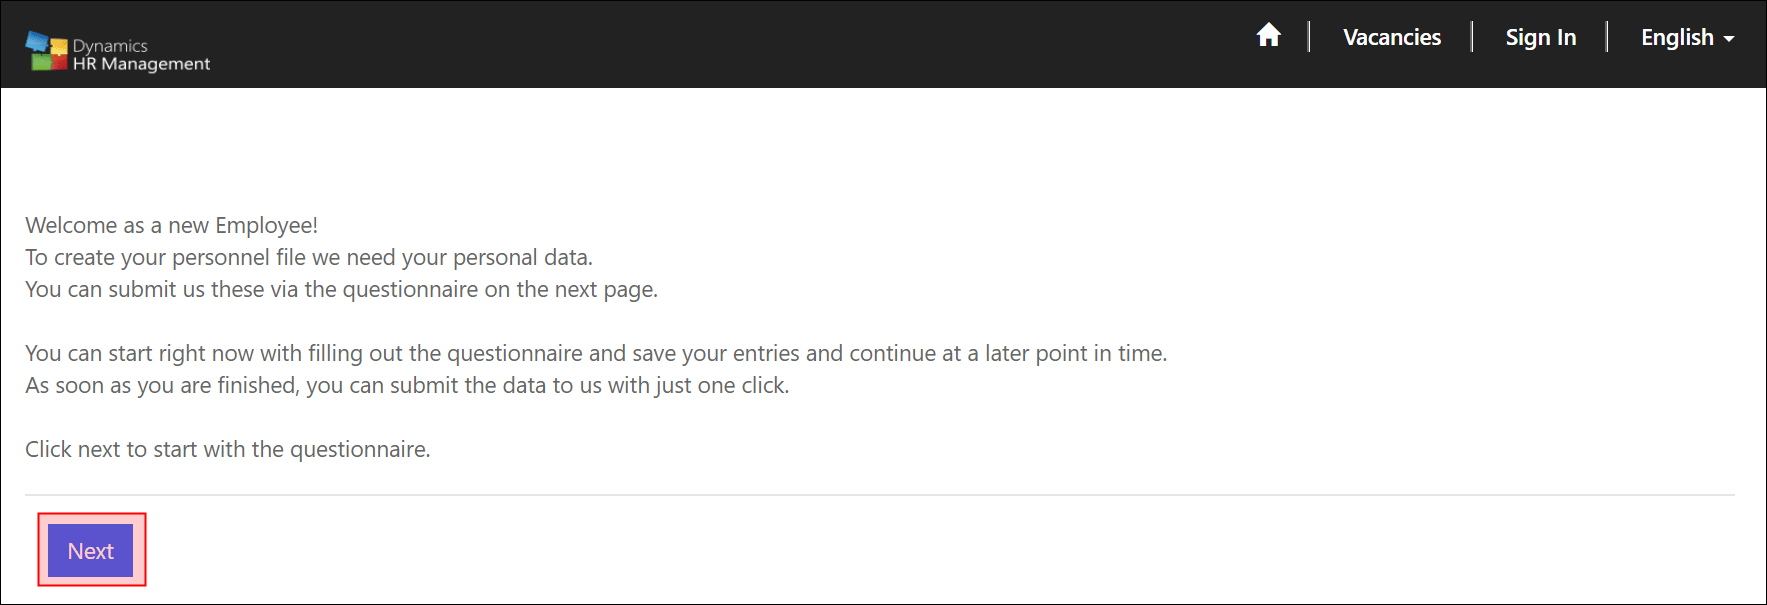
Click on the link in this e-mail and you will be taken to the self-service portal. Click on Next
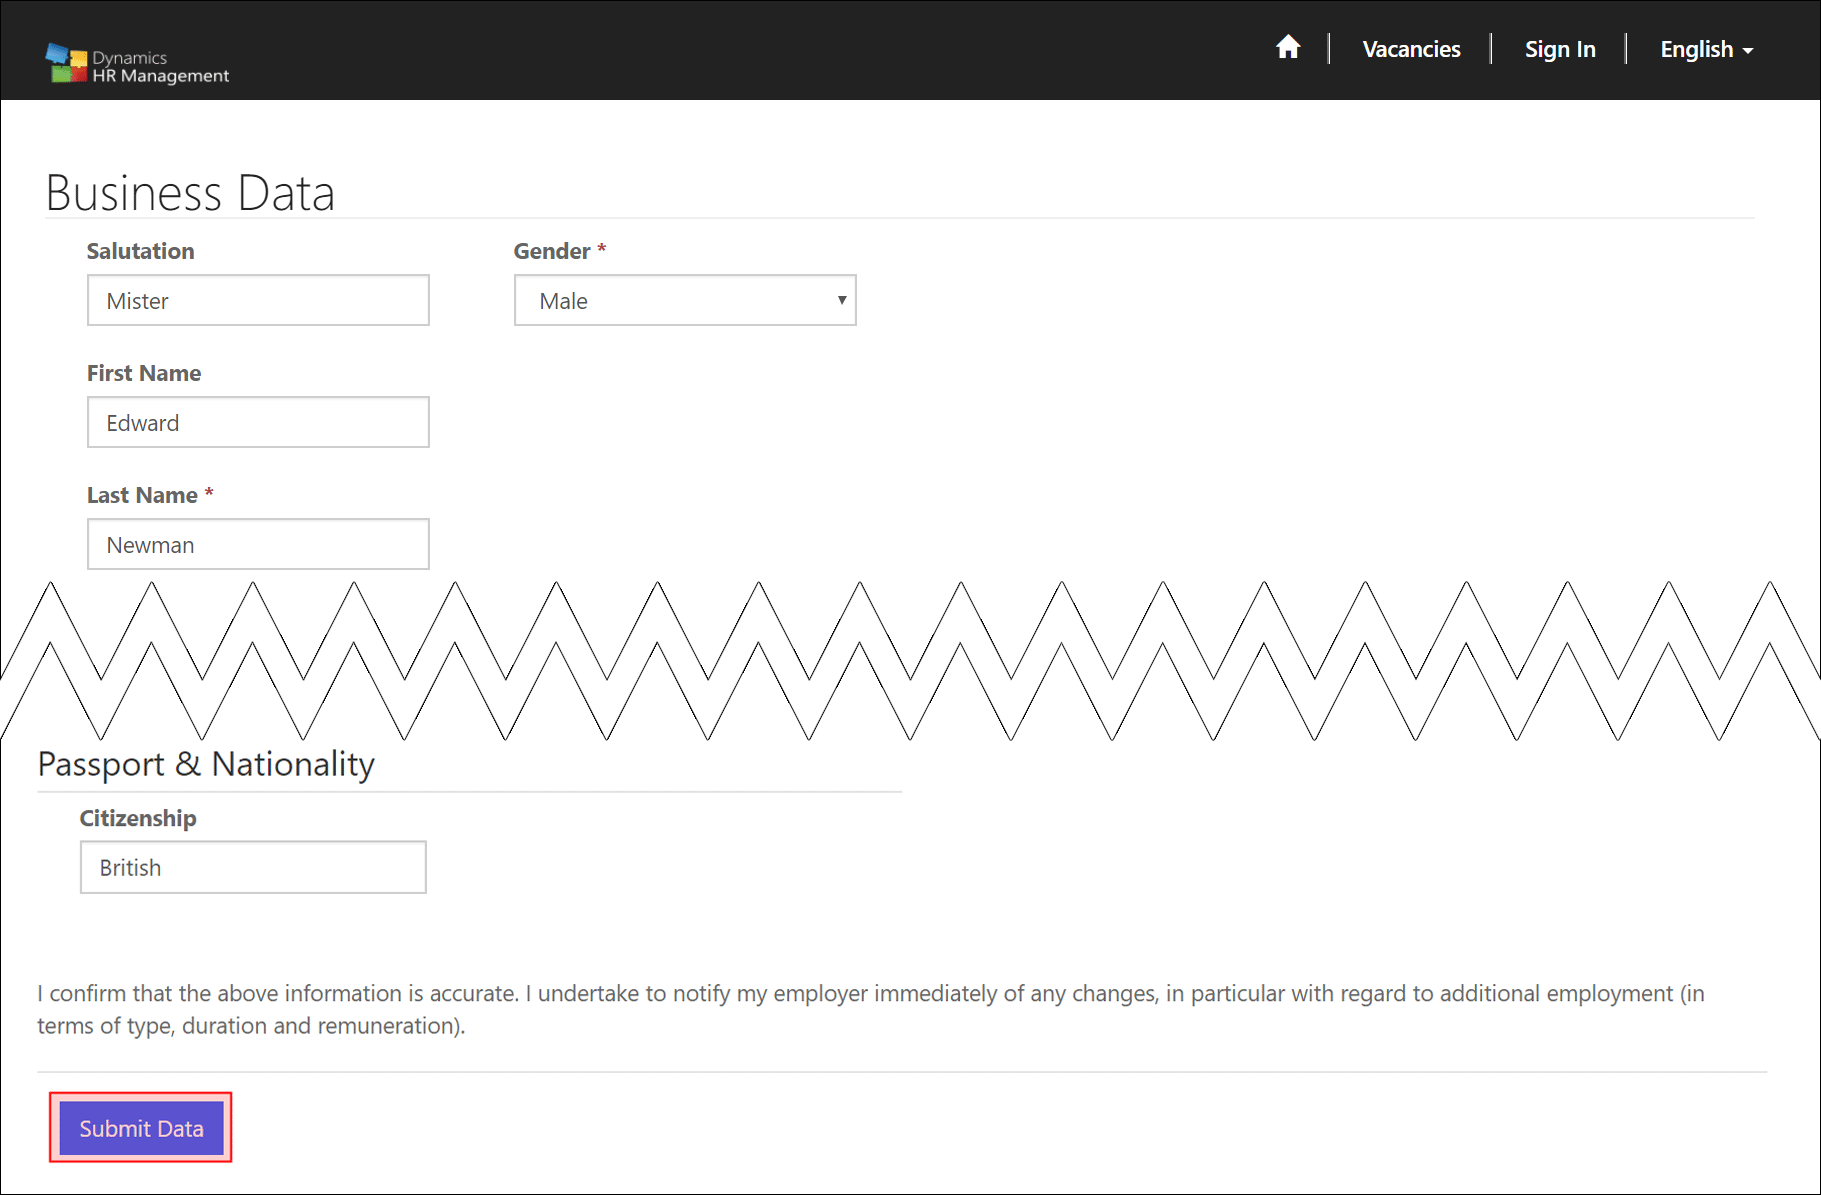
Fill in all required fields and confirm with Submit Data.
Note: This type of data acquisition is only possible once. All missing data and future corrections must be made in the Digital Personnel File. The procedure is explained in the following section.
Back to top | Back to table of contents
2. Digital Personnel File
Go to Navigation Bar -> HR -> Employees
Open your Digital Employee File by double-clicking
You can now view and change all your private data. Just click in the fields and enter the new data.
Once you've updated all the data, you can Save the record. Data relevant to HR is monitored by the system and, in the event of a change, tracked for the HR department. Such information includes, for example, your bank details or the address.
To create a new Emergency Contact or a new Personal Contact, click the + Icon in the upper right corner of the respective sector
Emergency Contact
After clicking the + Icon, the Quick Create Menu opens. Enter all relevant information and confirm by pressing Save
Personal Contact
After clicking the + Icon, a new menu opens. Enter all necessary details and Save the record.
Keep in mind, that the sector Dependent Data will only show up, if in the filed Relationship you selected an option which marks the contact as a relative
Back to top | Back to table of contents
3. Leave Management
The section Leave Management displays an overview of your planned and past absences. You will see your vacation requests and their status, your detailed absence information and your sick leave days. In addition, you see a graphical overview of your claims and the remaining entitlements, broken down by absence type
You can create new leave requests from here, too. In the section Leave Management, click the + Icon in the upper right corner of the sector Leave Requests
Detailed information about the leave request process can be found here: View and request leave
Another way to view and request leaves is the Self-Service Dashboard
Back to top | Back to table of contents
4. Time Management
In this section you can view your Time Sheets and Daily Summaries
You can open the records by double-clicking.
Detailed information about Time Sheets can be found here: Time Sheets
Detailed information about Daily Summaries can be found here: Time Management overview - What is what?
Back to top | Back to table of contents
5. Skills
This section lists all of your Skills including the required and the actual skill grade. In addition, you can see your self-rating of these skills.
When a new skill is added or you haven't self-rated an existing one, open the record by double-clicking. Enter the Self-Rating and Save the record
Note: Although you can see the Required Grade and Actual Grade fields, they are for informational purposes only and you can not change them.