
Applications
1. Receive applications
2. CV Parsing
3. Application process
4. Skill Rating
5. Hiring Team Feedback
6. Employment terms
7. Final decision
1. Receive applications
Depending on the recruiting channel, Dynamics HR Management can automatically create Applicants, Applications or even both.
Recruiting Portal - Create Applicants and Applications automatically
The applications you receive via the recruiting portal will be processed fully automated. The result is a new applicant record and, if it is not an initiative application, an application record. So you can fully concentrate on the recruiting process and don't have to care about the creation of records.
You can decide which information you get from applicants by customizing the form applicants have to fill out.
Further information can be found here: Recruiting Portal
Create applications manually
Go to Applications and press + NEW
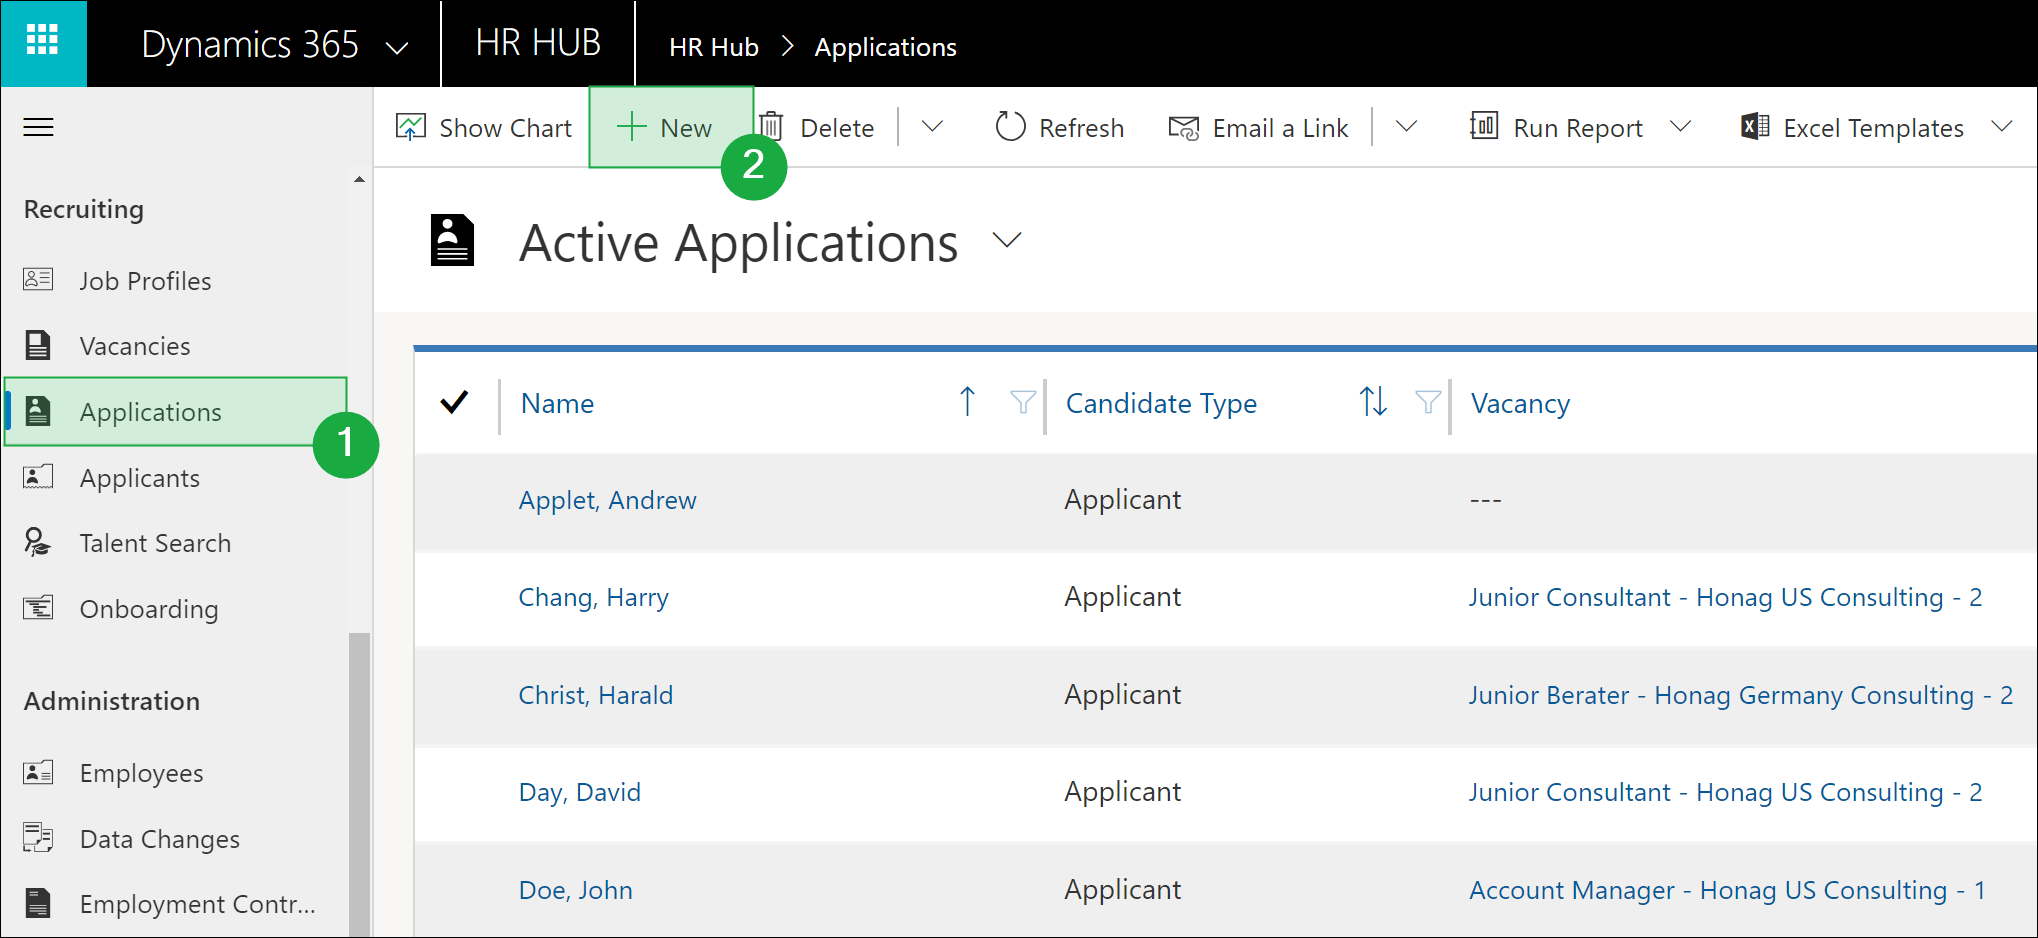
Select the applicant, the associated vacancy and enter the date on which you received the application.
If it is an Initiative Application that can not be assigned to a specific vacancy, set this option to Yes and you can enter free text in the field Application for.
Save the record and click Next Phase
Back to top | Back to table of contents
2. CV Parsing
Before you can use CV parsing, it must be activated once and your Textkernel access data must be stored.
How to enable CV parsing, can be read here.
You can run CV parsing as soon as the CV has been added to the notes in the documents of an application. This avoids the need for manual execution via the dialog. The data from the CV is automatically analyzed and saved. That means information from an applicant's CV is filtered out and imported.
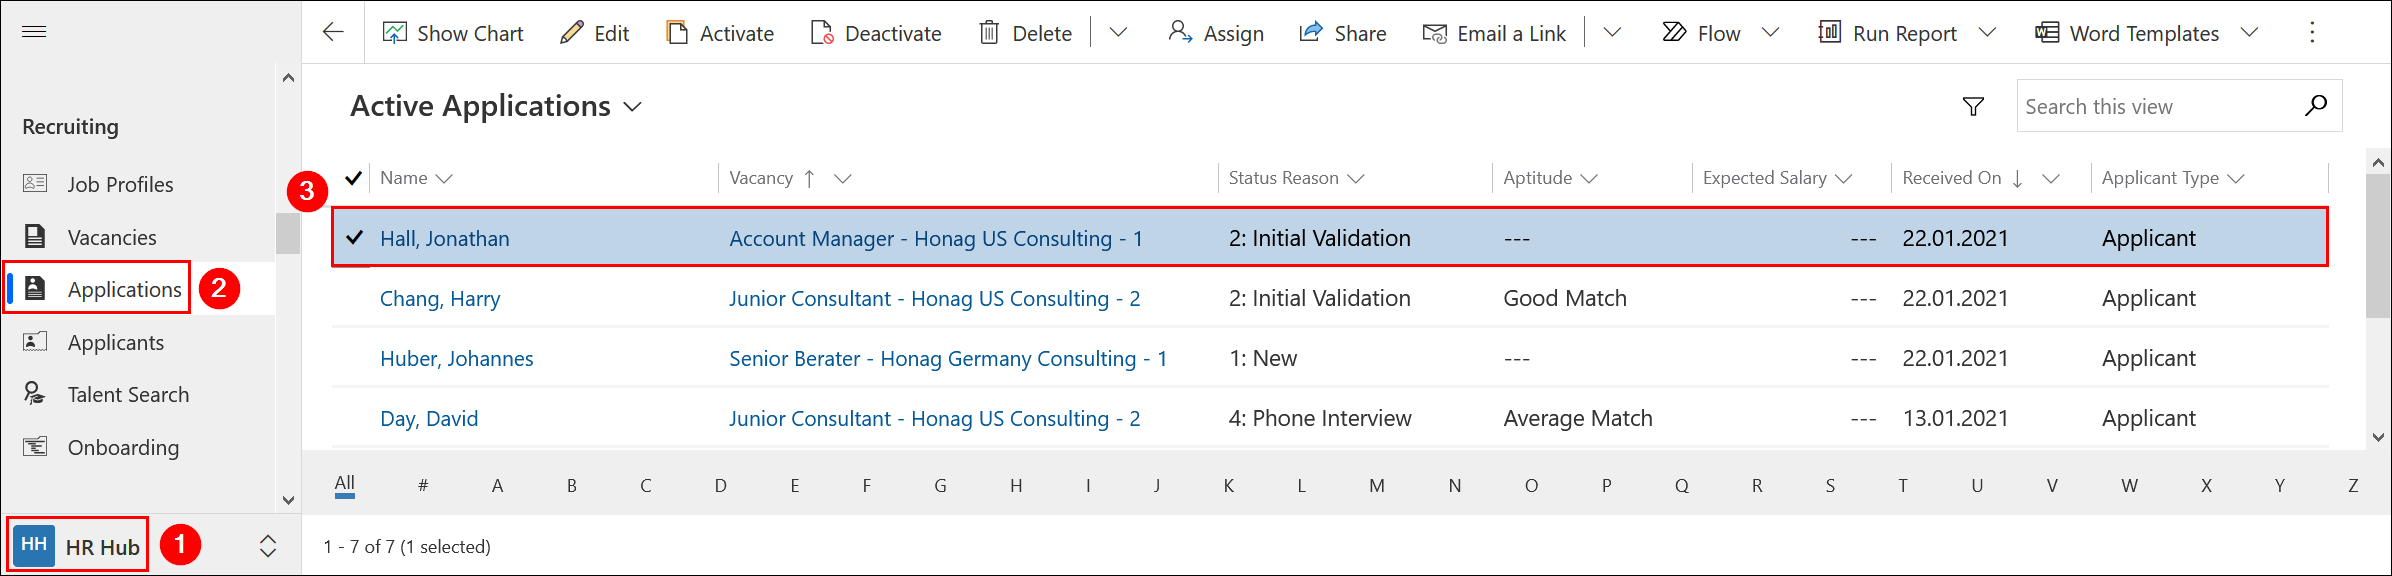
To start CV parsing, navigate to HR Hub - Applications - Active Applications and double-click to open the desired entry.
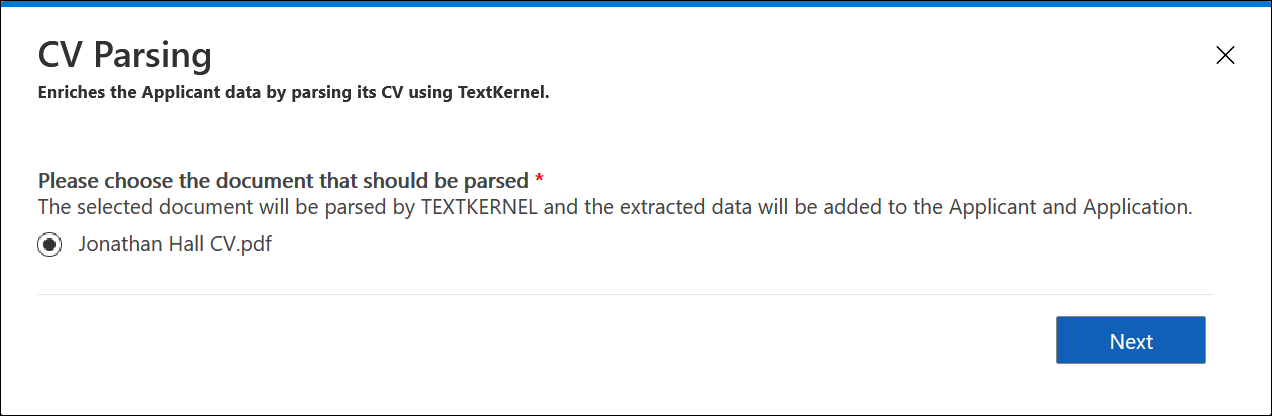
Under the "General" tab, on the right side you will see an area for documents, which you can upload there. Upload the applicant's CV and then click the "Parse CV" button.
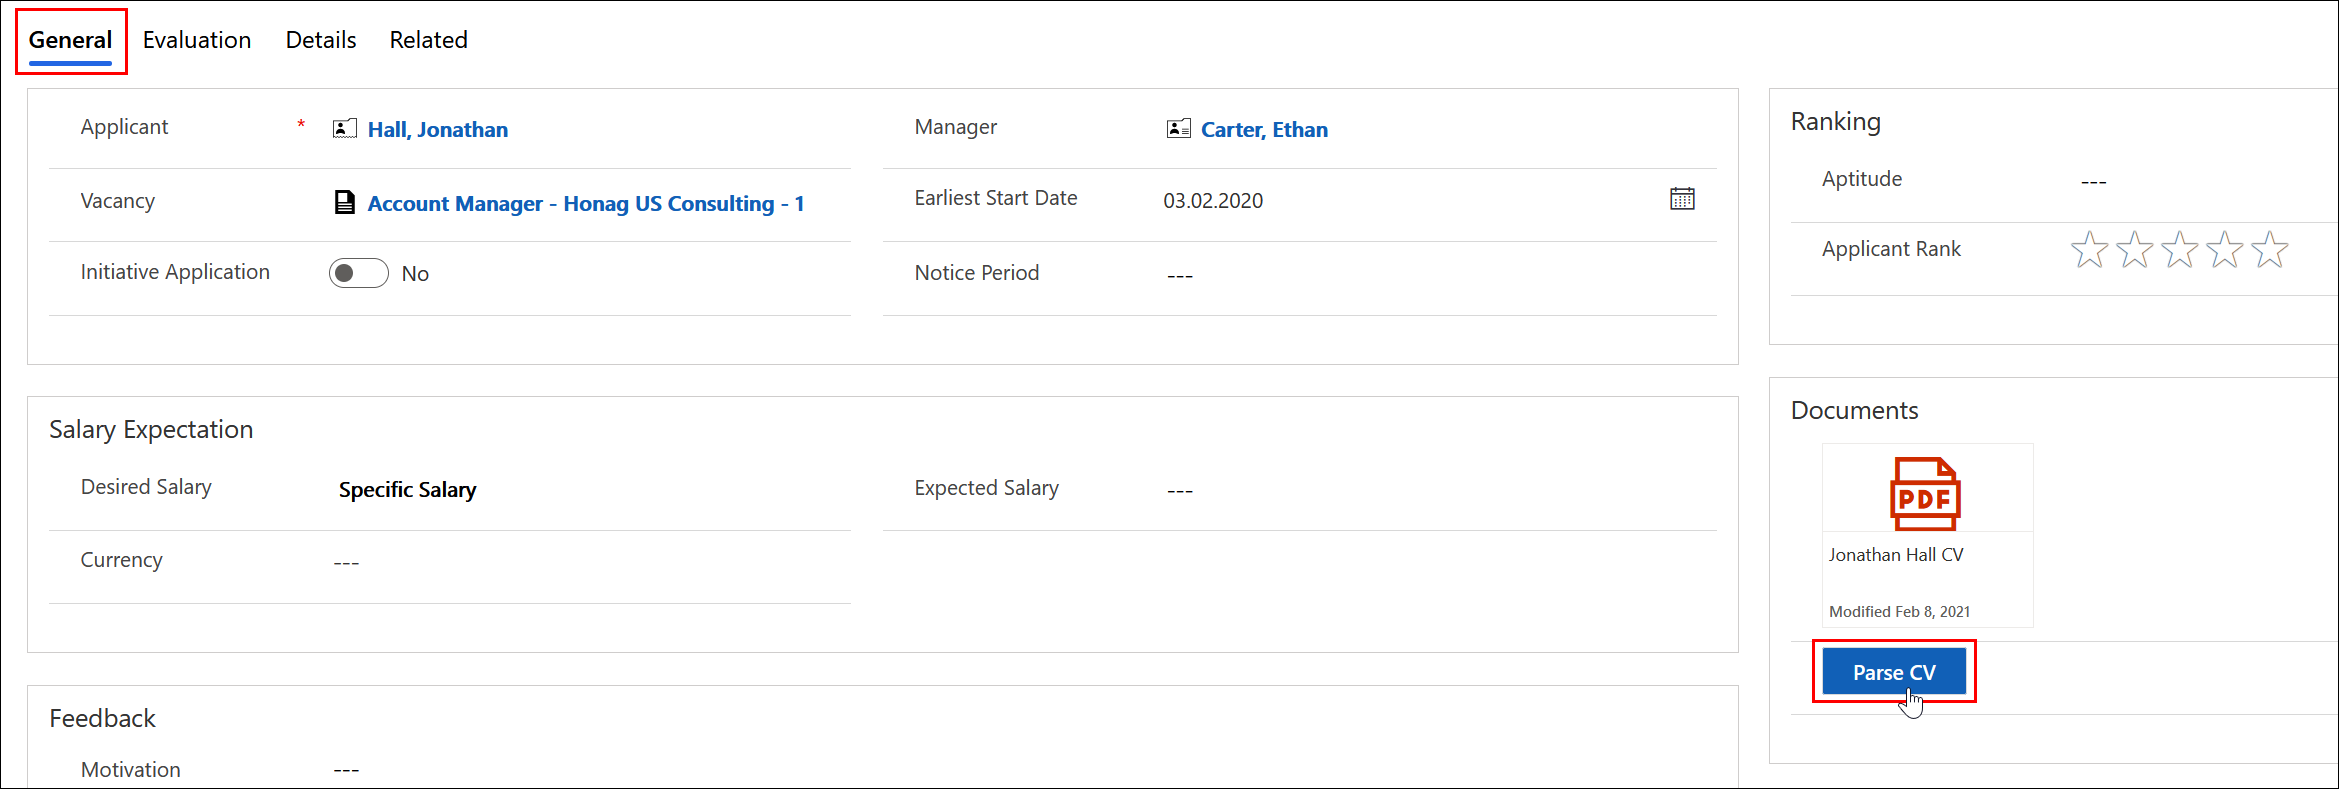
A new dialog opens. Select the previously uploaded CV and click Next.
The data from the CV will now be analyzed and transferred.
An overview of the fields that are transferred during CV parsing can be found in the tables below:
Personal Data of the Applicant
Display Name |
Schemaname |
|---|---|
| First Name | xrm1_first_name |
| Last Name | xrm1_last_name |
| Gender | xrm1_gender_code |
| Mobile Phone | xrm1_mobile_phone |
| Home Phone | xrm1_telephone_private |
| Email Address | emailaddress |
Display Name |
Schemaname |
|---|---|
| Birthday | xrm1_birthdate |
| Marital Status | xrm1_family_status_code |
| Street (Private) | xrm1_adress_private_street |
| Street Details (Private) | xrm1_adress_private_street_details |
| ZIP/Postal Code (Private) | xrm1_address_private_postal_code |
| City (Private) | xrm1_address_private_city |
Job History of the Applicant
Display Name |
Schemaname |
|---|---|
| Employer | xrm1_name |
| Applicant | xrm1_job_history_applicant_id |
| Start Date | xrm1_start_date |
| End Date | xrm1_end_date |
| Title | xrm1_title |
It also automatically adds any annotations as a note in the job history timeline.
Education of the Applicant
Display Name |
Schemaname |
|---|---|
| Name | xrm1_name |
| Applicant | xrm1_further_education_applicant_id |
| From | xrm1_education_from |
| Until | xrm1_education_until |
By default, the data is created with the status reason "Imported".
All data provided by Textkernel is stored in xrm1_document_text (Application Entity) in XML format.
Following you will find an overview about the Textkernel mapping for CV parsing: Textkernel Mapping CV Parsing.
Back to top | Back to table of contents
3. Application process
The application process consists of 6 phases in which the suitability of the candidate is determined. As part of this process, the HR Manager will often work with the applicant, employees and supervisors, coordinate appointments and activities, and finally create employment terms.
Coordinate appointments and activities
You can coordinate your appointments in the sector Activities .
In addition to the possibility to create telephone calls and tasks, you will find further activity options in the menu under the ellipsis, such as e-mails that you can write and send directly in the system or appointments that you can plan.
All created appointments and tasks are synchronized directly with Outlook and although you can manage them there, the data always remains secure within the system.
Of course, anyone assigned to a task or scheduled to attend will be notified by email and the respective dashboard and given the necessary rights for the activity.
Thus, all activities that have already been undertaken in this application, always remain visible and understandable.
Share information
In the course of the selection process, it is always necessary to share information.
While the supervisor is automatically notified as soon as the approval phase is pending, it may nevertheless happen that another person needs to see the application.
To do this, select Share in the menu bar to open a dialog.
Now select the person with whom you want to share the record and assign the corresponding rights. Click on Share and the selected person will be informed by e-mail.

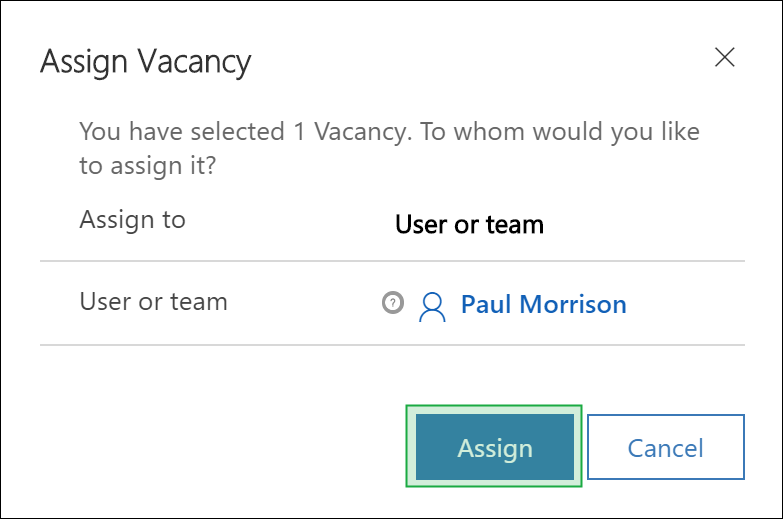
In the event that you not only want to share the record, but want to hand over the responsibility for it entirely, select Assign in the menu bar.
Click Assign To and the entry changes from Me to User or Team .
Now select the user and click on Assign. This assigns all rights to the selected user/team.
Back to top | Back to table of contents
4. Skill Rating
Dynamics HR Management automatically compares the required skill levels of a vacancy with the actual skill levels of the candidate. This happens as soon as you create an application that is linked to a job description.
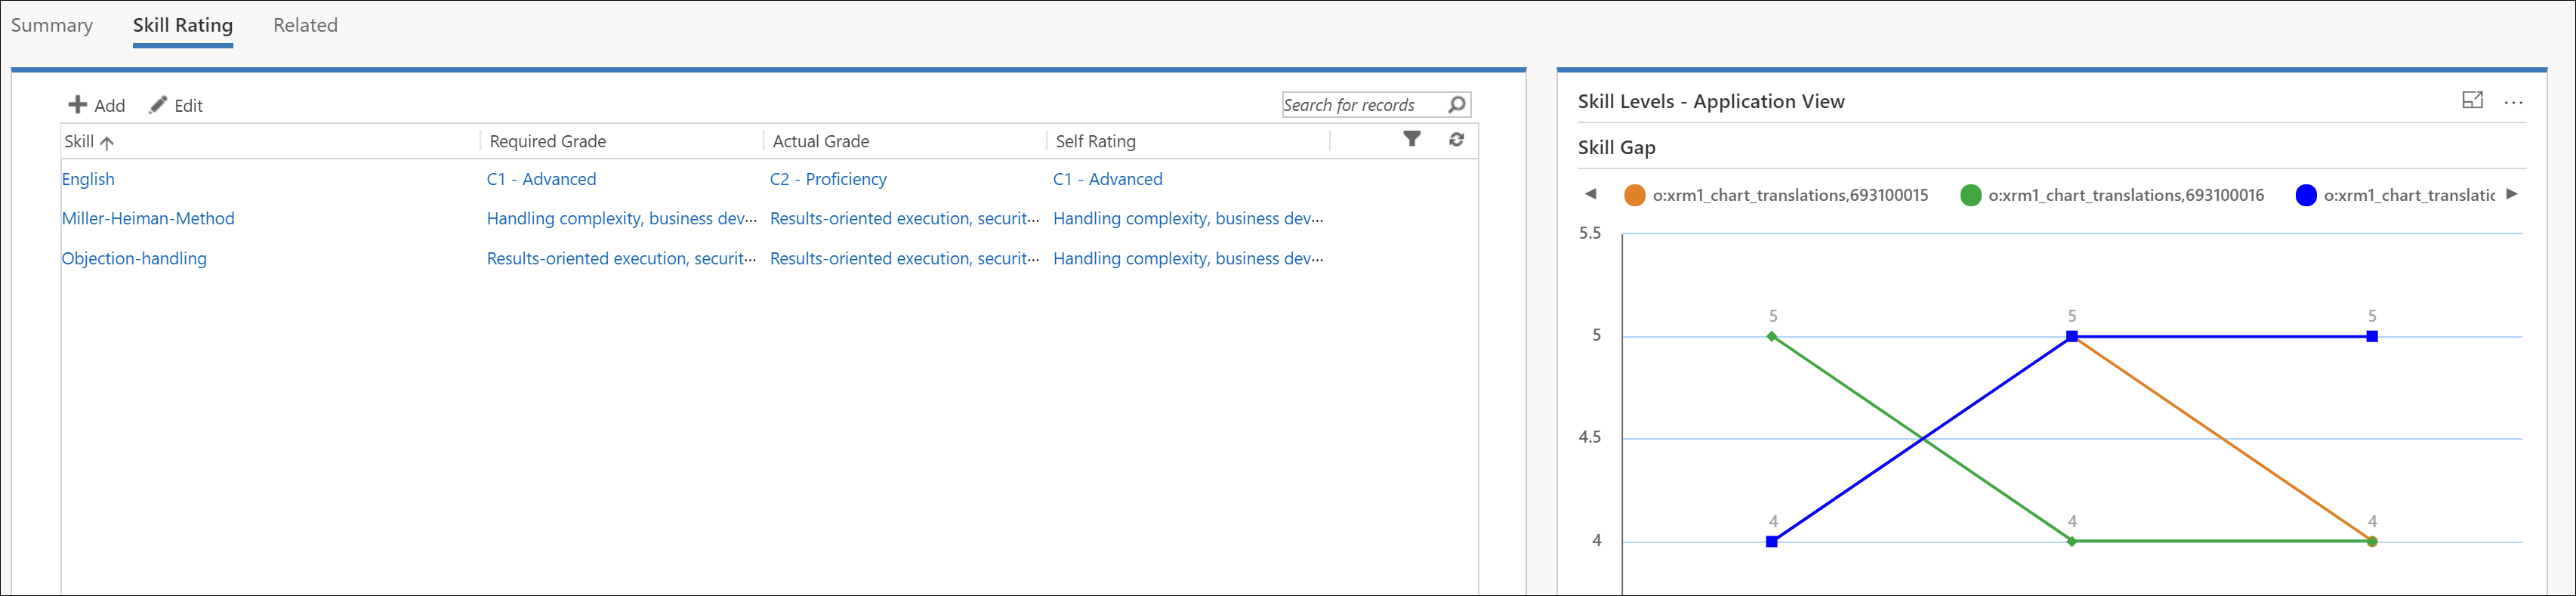
The prerequisite is that you have specified the skills and skill grades in your job description and that you have recorded the skills of the applicants. If you use the recruiting portal, you can offer the applicants a self rating option. The skills and the associated skill grade are then automatically transferred to the application.
Further information can be found here: Skills, Skill Grades, Skill Levels, Recruiting Portal
If you add additional skills afterwards, you can run the skill rating manually to update the result.
To do this, click on Prepare Rating in the menu bar
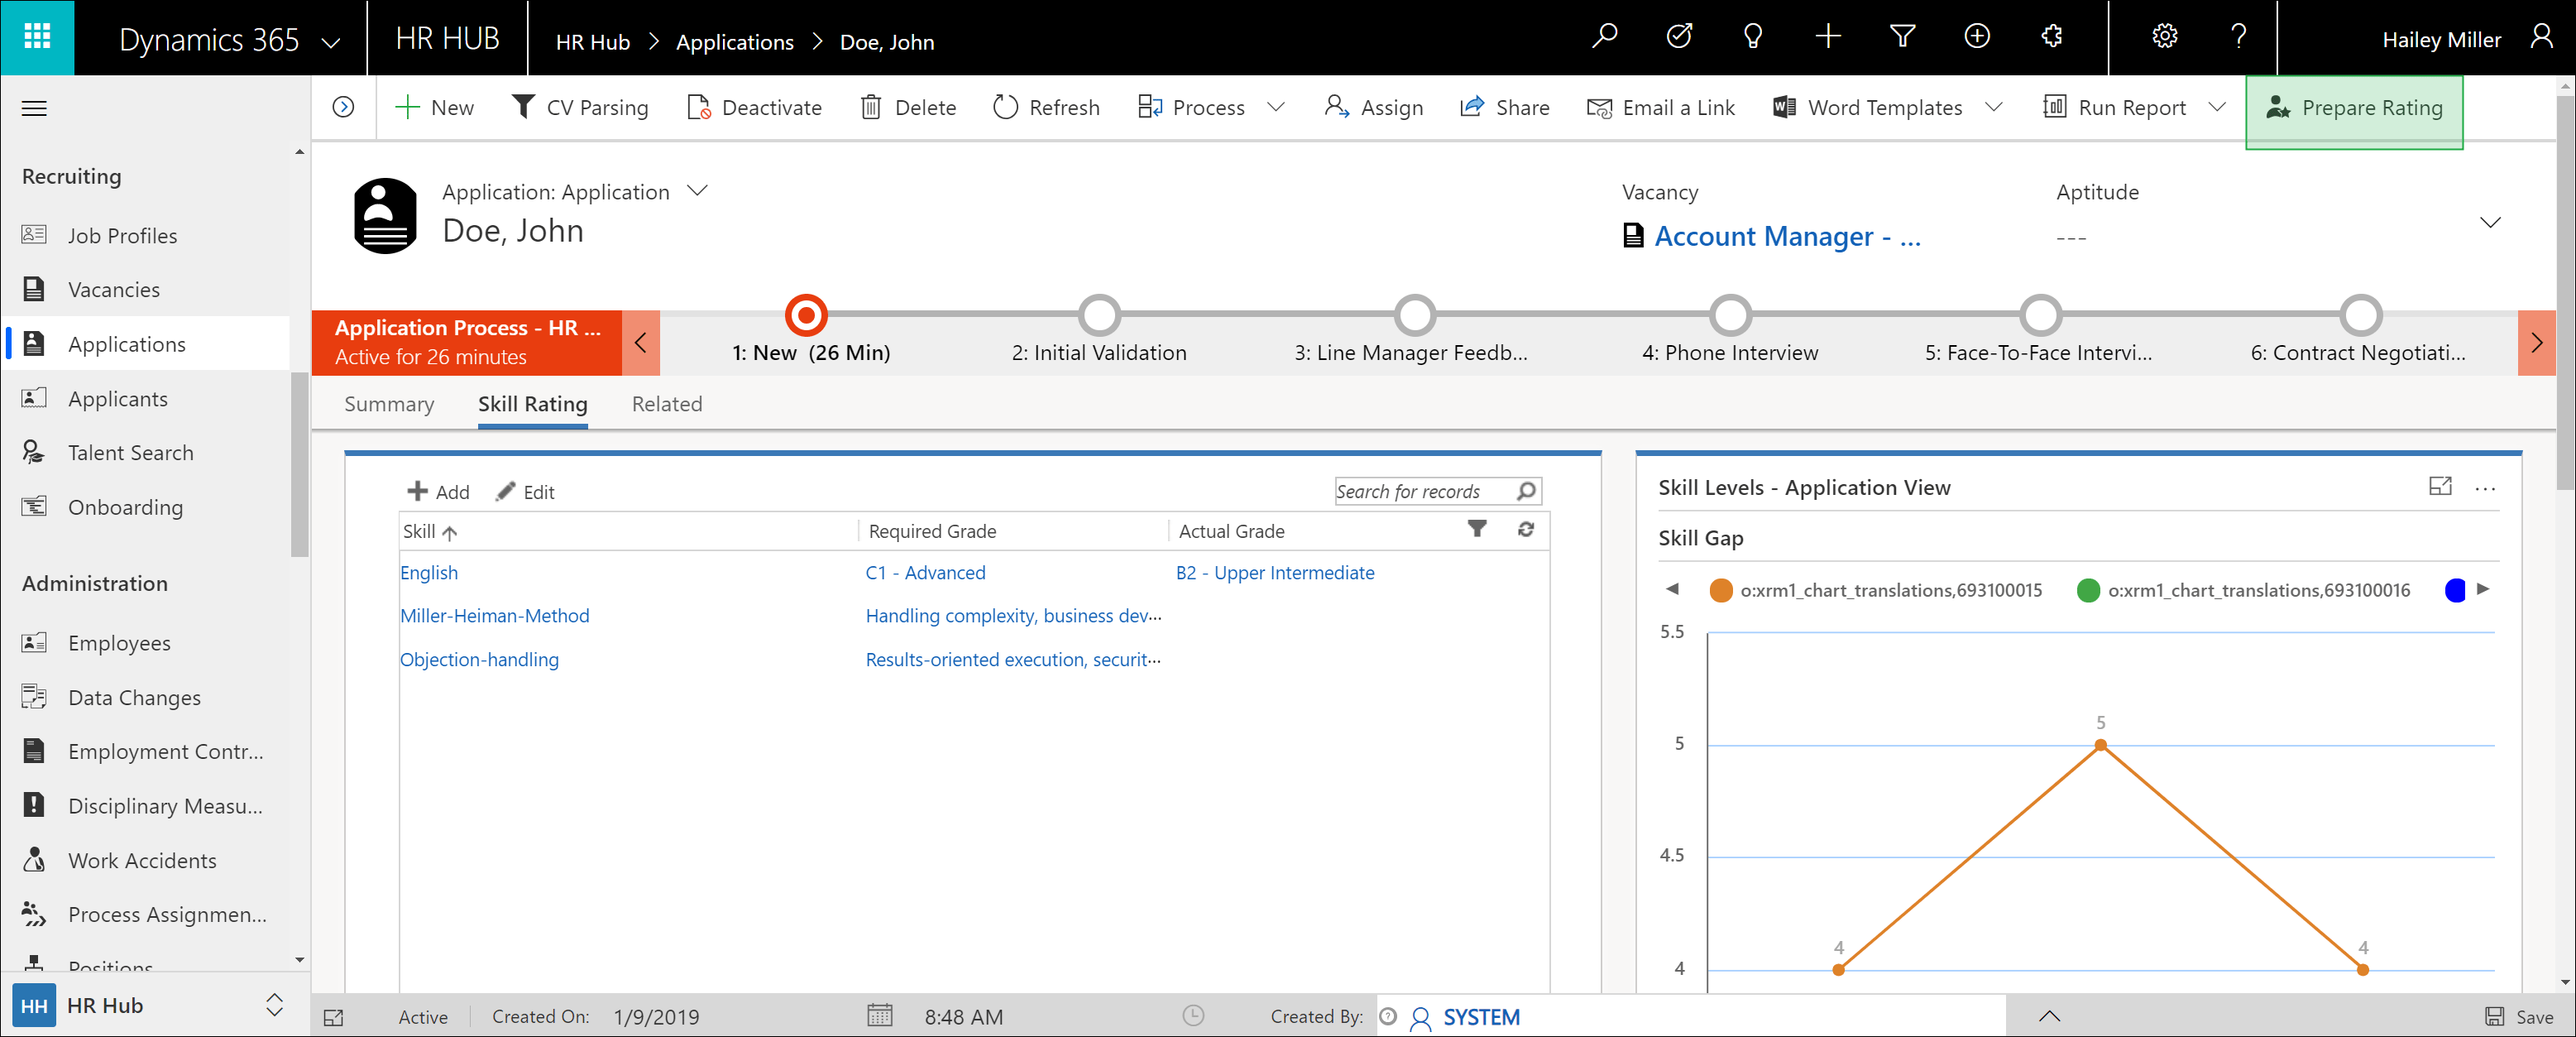
If you're asked to reload the skills list, just click on the circle icon on the right above the skills list.
A few moments later you can see the results in the section Summary. You now have another basis for an initial rating of the applicant.
Back to top | Back to table of contents
5. Hiring Team Feedback
In addition to evaluating applicants based on skills, multiple members of a specified Hiring Team can provide their feedback on the applicant and their application.
If the function Enable Hiring Team is set to "Yes" in a vacancy, a grid with the selected hiring team members is displayed in the "General" tab of all applications received for this vacancy. It gives an overview in which interview round of the application process by whom an evaluation is automatically requested via the system. You can add additional hiring team members to this list for this application only.
The field Vacancy on the "General" tab of the application is locked by activating the hiring team function on the vacancy and can no longer be changed.
Once the application reaches the stage in the application process specified in Interview Round, the record is shared with the selected hiring team members. They will receive an email with a link directly to the evaluation form. Open this link by clicking on it.
The corresponding evaluation form will open. Please fill in all fields.

Interview Round: The interview round with the candidate for which the rating has to be submitted is displayed here. This field is preset by the system and cannot be changed.
Rating: Enter your rating of the candidate in the form of stars here. The rating is from one star = very unsuitable to five stars = very suitable.
Decision: By clicking on one of the 3 icons you can give your (final) decision on the application. With "Yes" you give your consent to keep the application further in the application process. With "No" you show that you do not consider the applicant suitable for the position. If you choose "Maybe" you are not quite sure.
Decision Comment: This field will only appear, when you clicked on "Maybe". You have to leave a comment and explain your decision.
Feedback: Here you should put into words your assessment of the applicant or the application.
All fields here are mandatory and must be filled in by you before you can continue.
Click on the Save as Draft button to save your entries for later processing. If you click on the Submit button that now appears, your evaluation will be submitted and all fields will be locked. Your editing is now complete.
On the right side of the evaluation form, you will find information about the application, such as the applicant's name, the link to the posted vacancy, the documents submitted by the applicant, and how the applicant's skills match the job requirements. This area is customizable by the administrator and is designed to provide you with all the important information you need to make an informed decision about the application.
Back to top | Back to table of contents
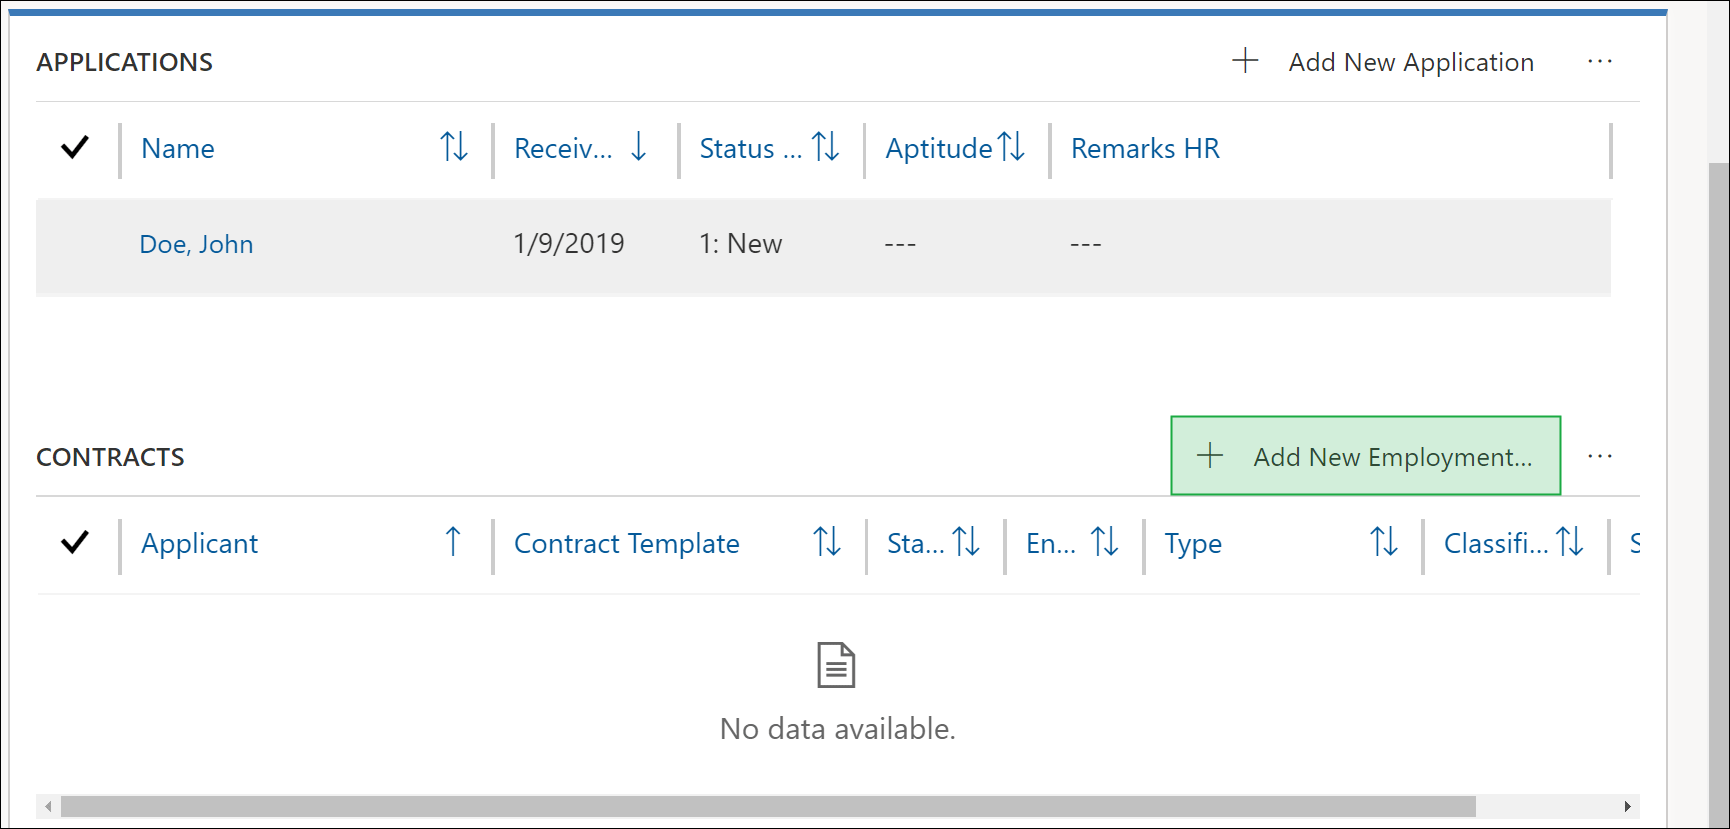
6. Employment terms
Create employment terms
Detailed information about creating and managing employment terms can be found here: Employment terms
Go to Applicants and open the record of the applicant you want to create draft employment terms for.
On the right side, click on + Add new employment terms
Fill in all fields according to your wishes and set the status to Negotiation.
Once negotiations are completed, you can set the status to Valid. From then on, all agreements in the employment terms, like leave entitlements and wages, will be taken into account by other features and can not be changed anymore.
Note: When you hire the applicant, the employment terms are automatically set to Valid!
To change any employment terms details except for wages and leave entitlements, you must replace it. The old terms will still be displayed in the digital personnel file for reasons of transparency and traceability, but no longer affects the individual functional areas.
Note:
Every employee needs valid employment terms to be able to use all features completely!
Export employment terms
You can now export the employment terms as a Microsoft Word document. You can then customize these individually with your texts and ultimately submit them to the applicant for signing.
Click on the ellipsis in the menu bar and select Word Template and then the template you want to use.
Save it to a location of your choice.
Back to top | Back to table of contents
7. Final decision
Once the entire process is complete, it's time for the final decision. You have the option of hiring, rejecting or applicant pool.
Note: If you set the final decision to Hired, the Employment Terms become mandatory!
Hire applicants
As final decision select Hired and click Finish.
The applicant record is now automatically turned into a digital personnel file including all information data..
Rejected by company / Declined by applicant
Choose one of these options as final decision and click Finish.
If this is the only application the applicant has, the applicant and the application will be anonymised after 3 months. This removes all data compliant to DSGVO / GDPR, but it can still be analyzed for statistical purposes, for example, to see where the applicants came from or how old they were.
If an applicant has several open applications, nothing will happen to not interrupt the application process of the remaining open applications.
Note:
The period until the initiation of the anonymization can be changed in the process as desired.
Applicant Pool
Select Candidate Pool and click Finish.
The applicant will now be moved to the pool of applicants and will continue to be available if a position is advertised that might be suitable for him. There is also the possibility that he is found on the Talent Search.
More information can be found here: Talent Search
After 3 months, the applicant will automatically be sent an e-mail asking if he would like to refuse to remain in the applicant pool. He can communicate this by e-mail to the responsible HR manager. The HR Manager can then start the anonymization process.
If the applicant does not respond, he will automatically be kept in the applicant pool and receive another email after 3 months.
Note:
The period until the initiation of the anonymization can be changed in the process as desired.